The bases
In early 2022 I built some miniature wasteland trash piles for tabletop gaming. This trash terrain project was all about recycling!
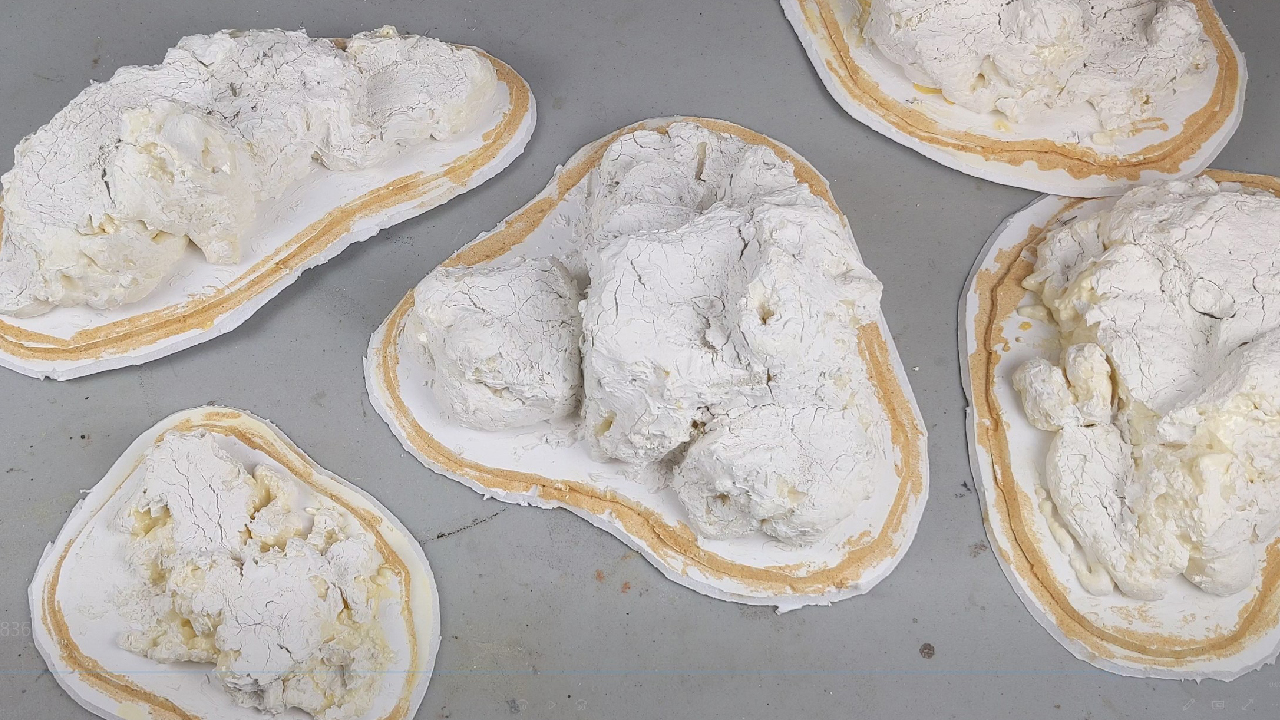
For the bases I used some unfinished rock piles that I started a few years ago. To make these I layered spray foam onto foam boards. I then found out that spray foam, once cured, will cause foam board to buckle. (As I suspected it would!) I tried to fix it by doubling up the foamboard.
After cutting a few flat sections out of the foam and covering the piles with drywall compound I kinda just gave up on the project and they have been lying around collecting dust since then.
"Trash" for the Trash gods
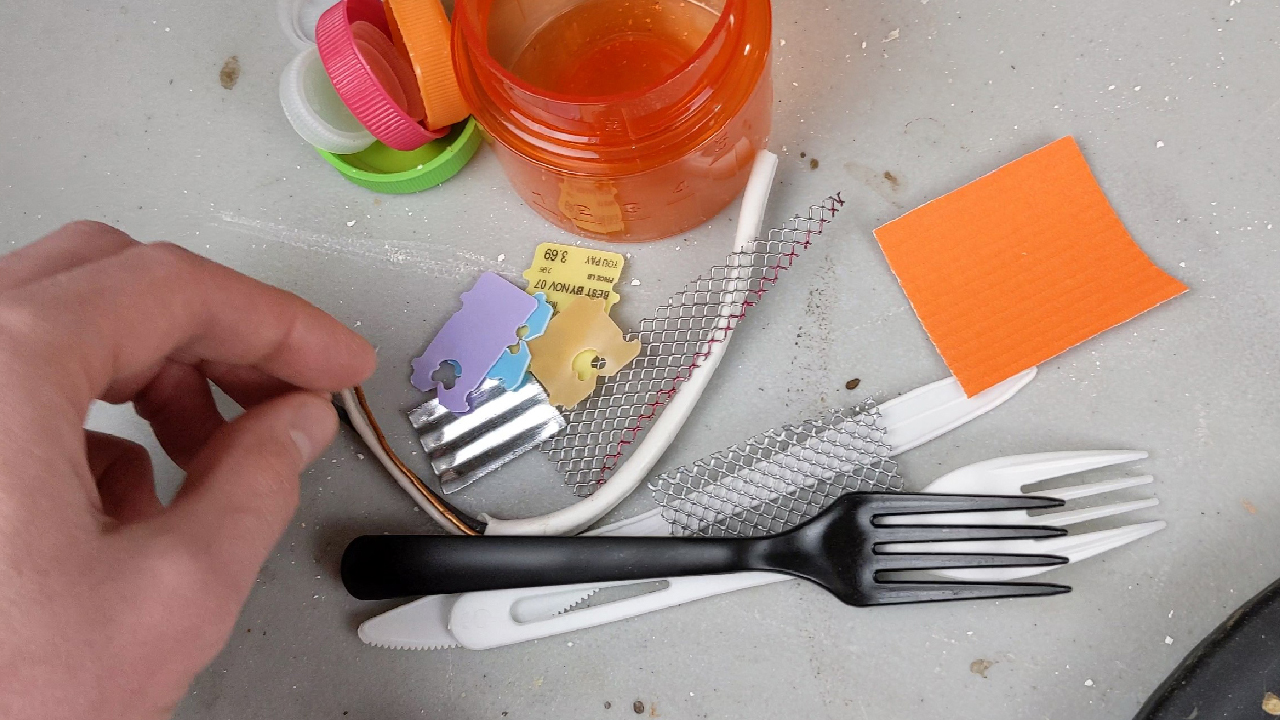
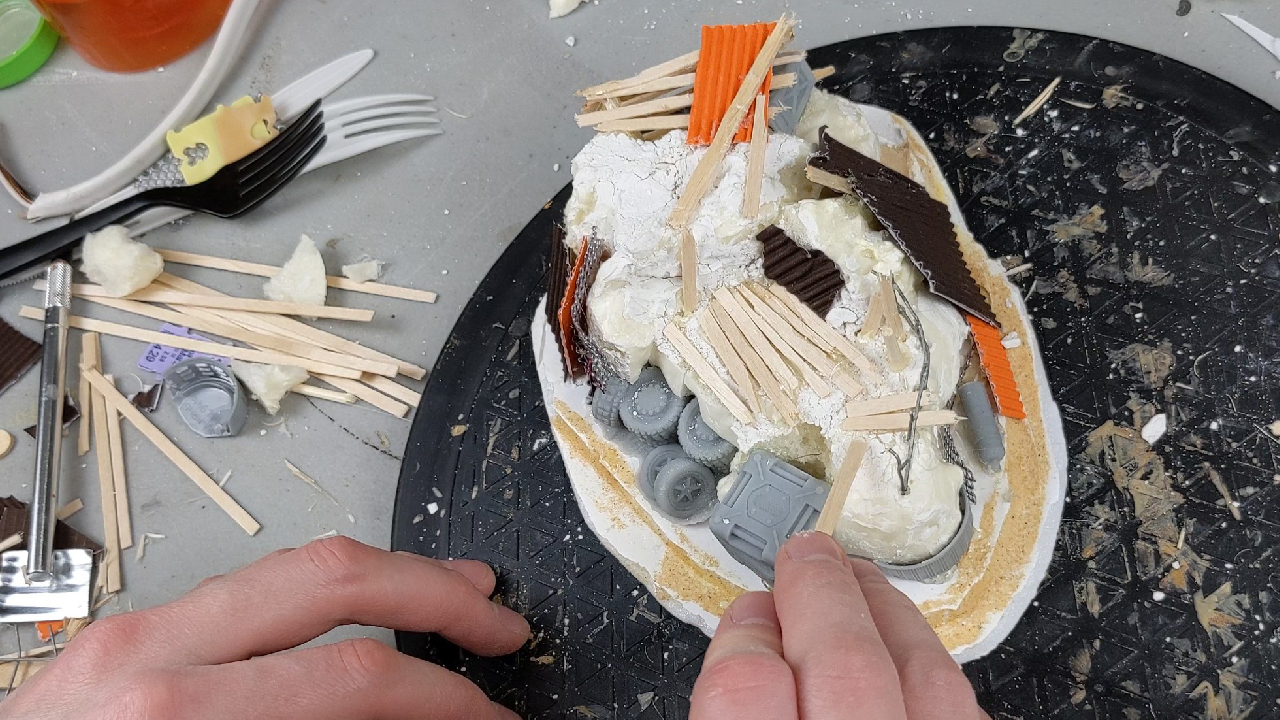
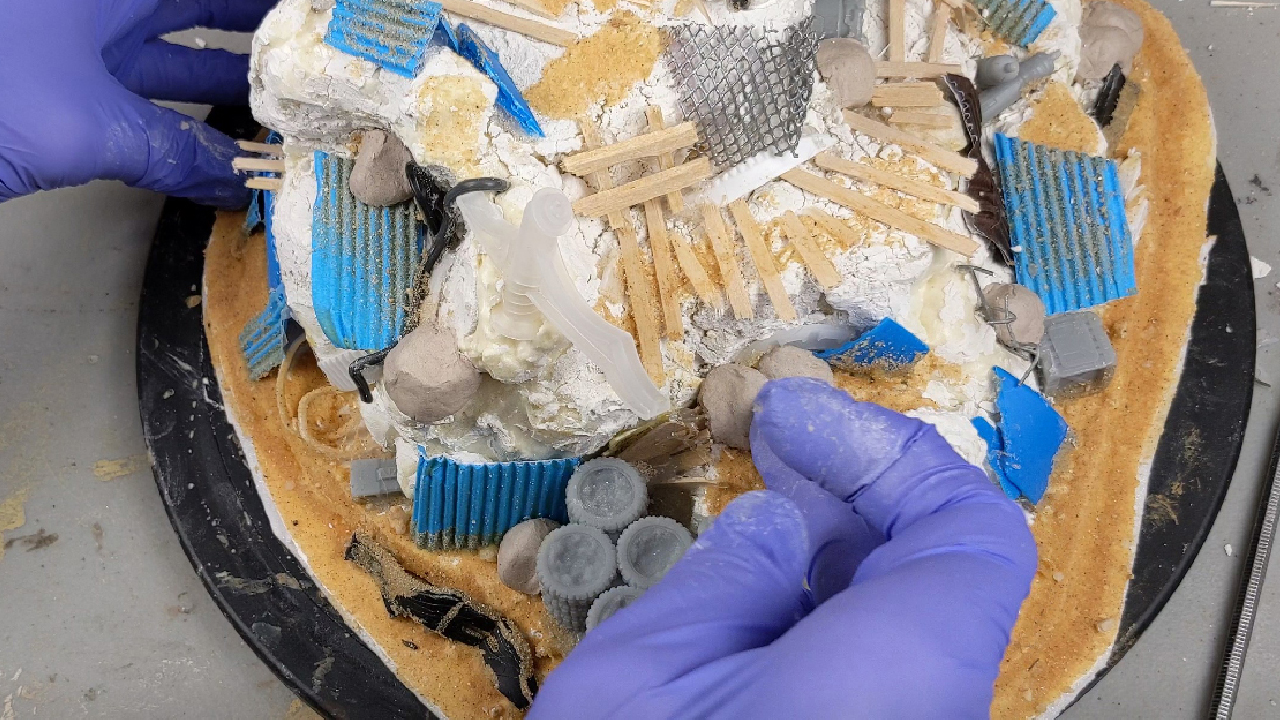
Now for the fun part, layering the trash on these piles! Not to brag, but I’ve been collecting my recycling/trash for a few months now and I had a lot of bits and bobs to choose from.
Cat food containers, bottle caps, corrugated paper, failed 3d Prints, broken stir sticks, plastic utensils, mesh scraps and bits of wire are a few of the things I layered onto these terrain nodes. You can get pretty creative here! Just about anything will work. The goal is to create a lot of visual variety to create the illusion of a garbage mound.
The spray foam made a fantastic garbage pile foundation by the way!
Note: If you are in the testing process of 3d printing, I’d suggest using files you can use as broken terrain instead of those “test files” you can find online. Test files are wasteful in my opinion, but I can understand why some people use them.
Sculpting Trash bags
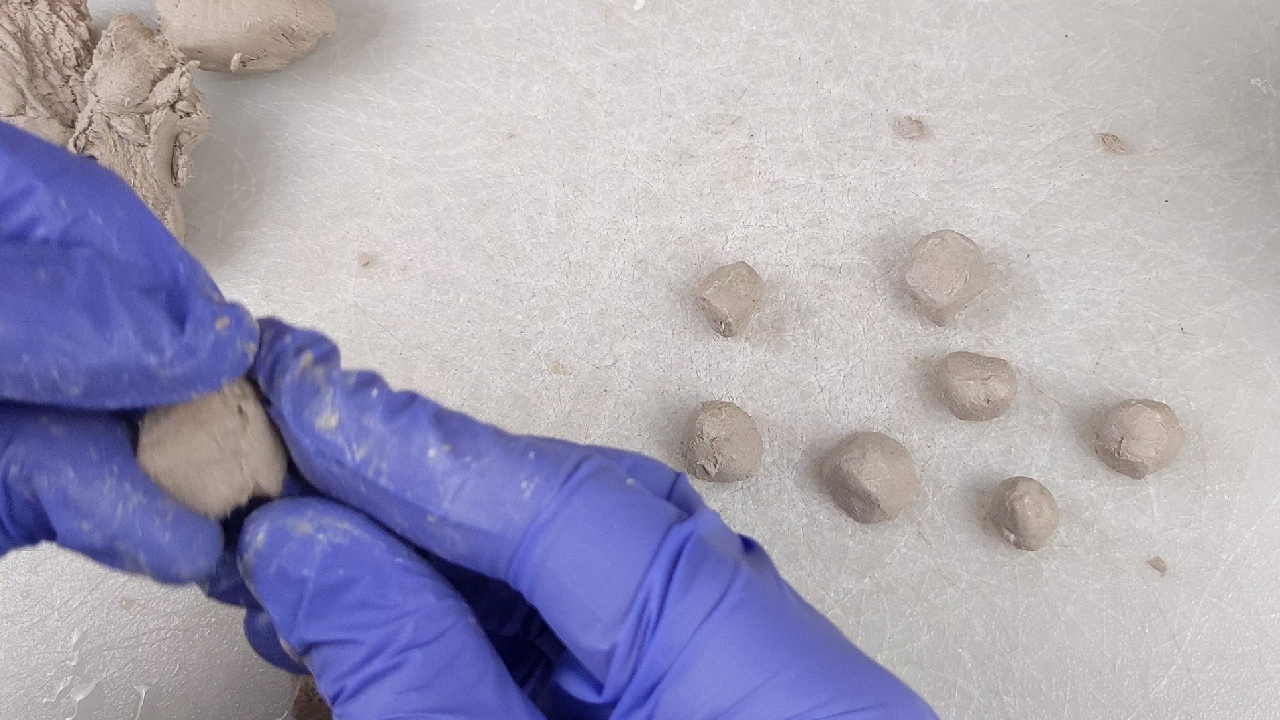
Using Das Modeling Clay and a little water, I sculpted some trash bags. To do this I rolled clay into marble-sized balls and randomly mashed them into the terrain nodes. I added a small cone-shaped piece of clay to some of the bags to act as a tied off bag end.
Finally I used a sculpting tool to carve some creases into the “bags” around the edges and necks. Use a reference picture for this if you need to.
More clutter
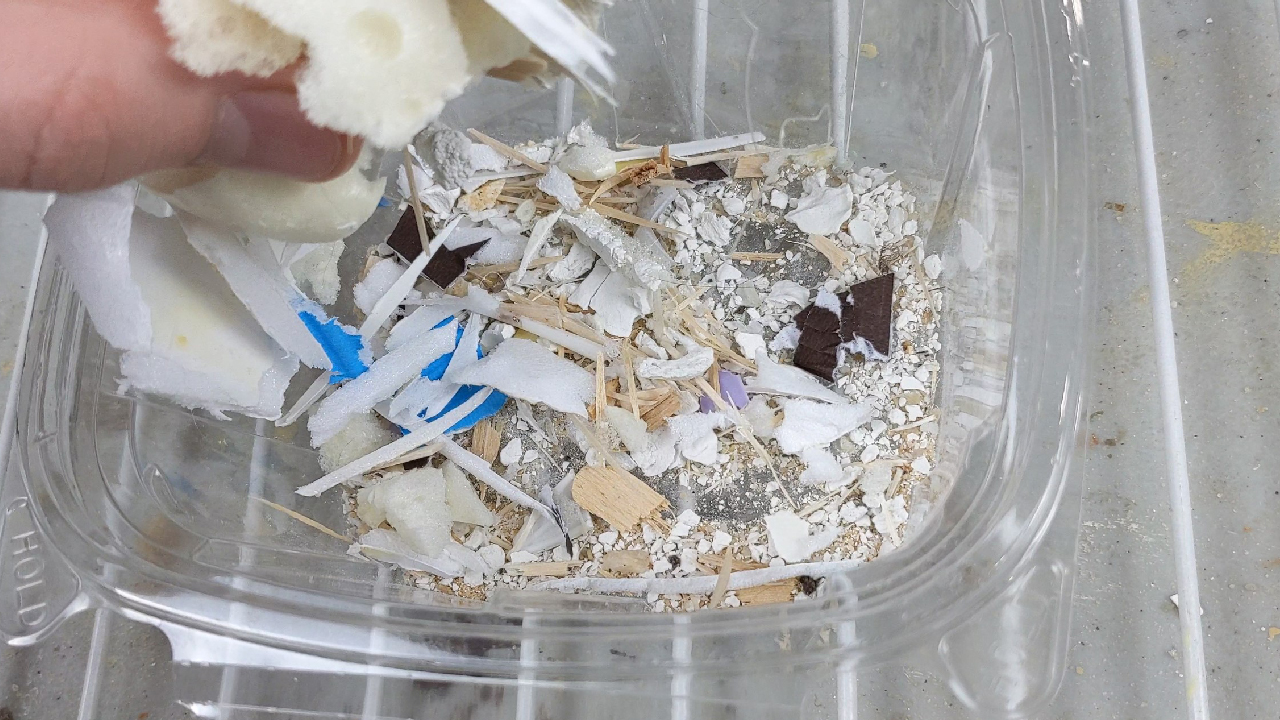
Occasionally I would sweep the tiny crafting scraps off my table and into a container. I layered PVA glue around the edges of these trash pile nodes and dumped these little treasures over it (Along with some sand). That did a great job hiding the foamboard and giving the nodes a bit more weight.
Blasting on a Base Coat
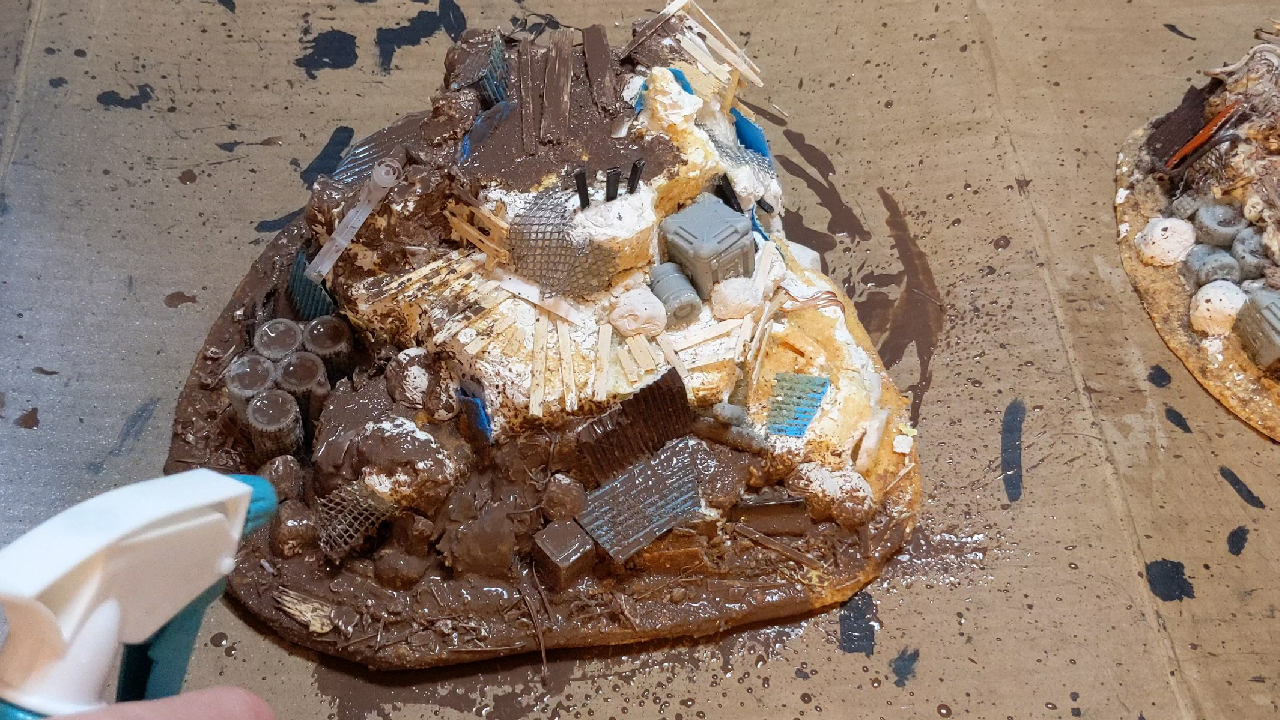
Once everything was dry, I mixed up a base coat of Brown Paint, Ink, PVA Glue (To help strengthen the nodes), Mod Podge and water in a cheap spray bottle and blasted these terrain nodes. (This is a fun but messy process. I used cardboard to contain the overspray.) This just barely worked. The mixture was too thick for the spray bottle and ended up clogging it up. I’d suggest using Squeezable Wash Bottles instead.
There were too many nooks and crannies to make brushing / airbrushing this on a viable option. Sometimes you just gotta slop it on there!
After spraying these nodes I mopped up some of the excess PVA mixture with paper towels. I ripped the paper towels into smaller pieces and layered them onto the trash piles randomly as well. And voilà! I had added some canvases to the trash piles.
Painting
After the semi-opaque brown base layer was dry I painted in some of the details. First I painted the trash bags, tires and a few other bits black.
I also picked out a few colors for the corrugated paper (aka corrugated metal sheets).
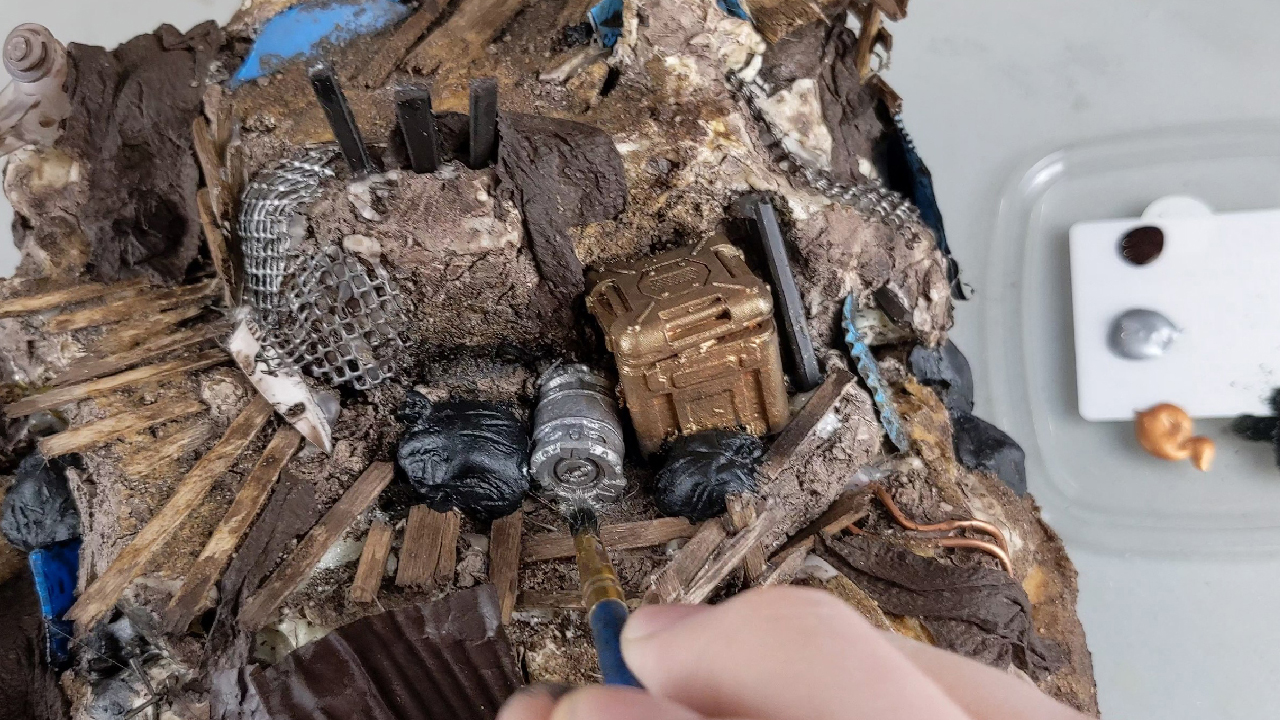
Then I went in with a few metallic paints. I dry brushed “Plate Metal” on the metallic bits and most of the exposed spray foam. This represents small metallic scrap bits mixed into the earth. (Nails, bolts, etc.)
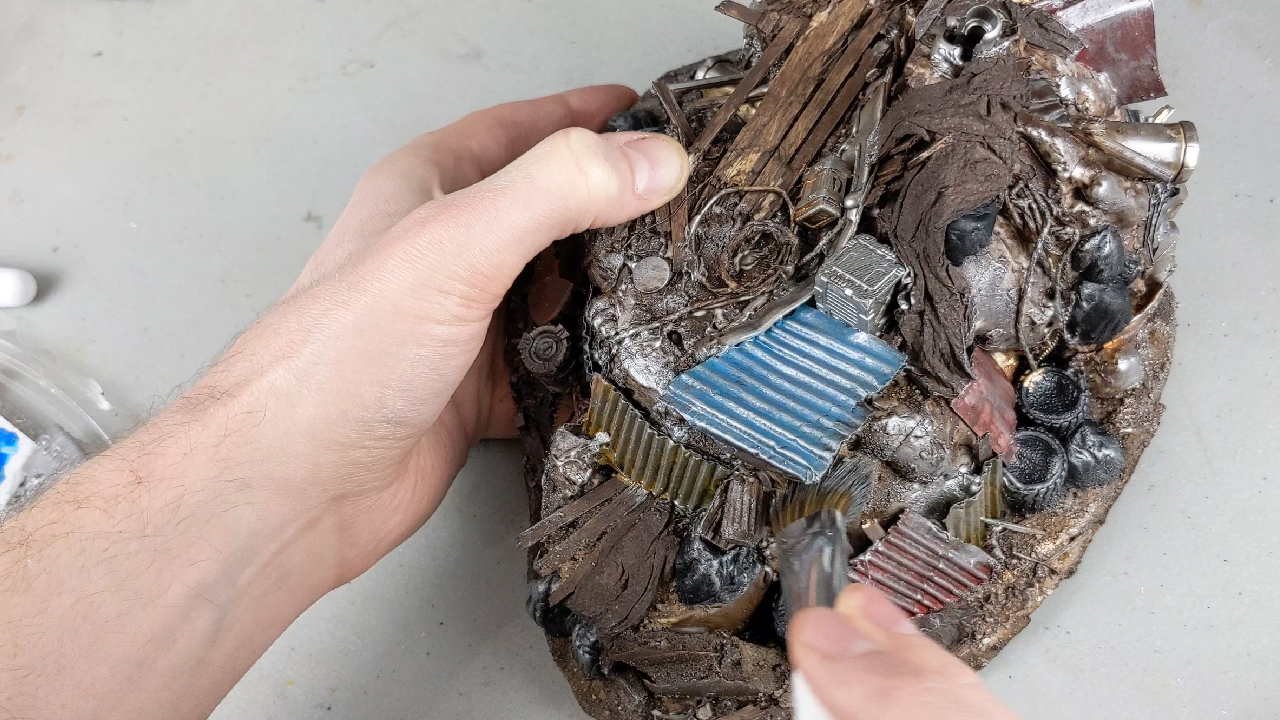
Some Dry-Brushing
With most of my base colors blocked in, I dry brushed some “Skeleton Bone” on the entire set. I like this color. It’s very earthy and dry and does a good job bringing out the details.
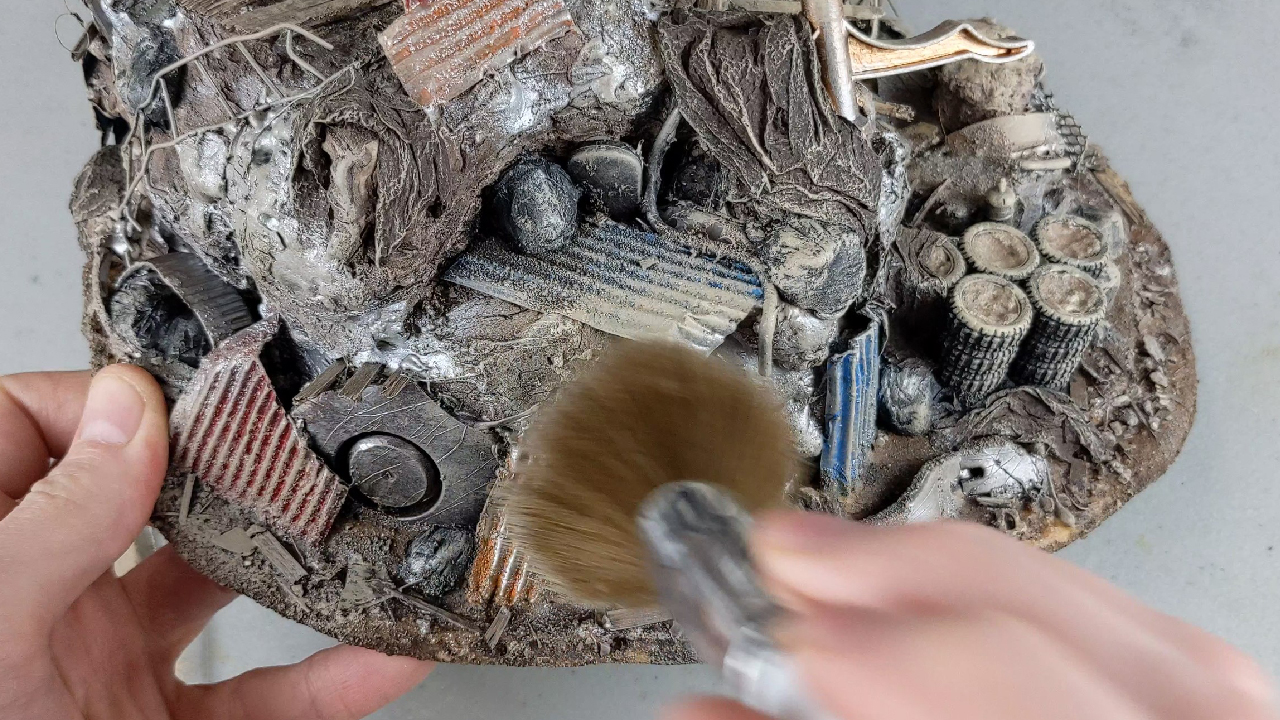
The set was looking pretty good, but it didn’t quite match the battle map I want to use these with. So I mixed up a wash to darken these nodes up a bit.
Grimey Wash & Rust
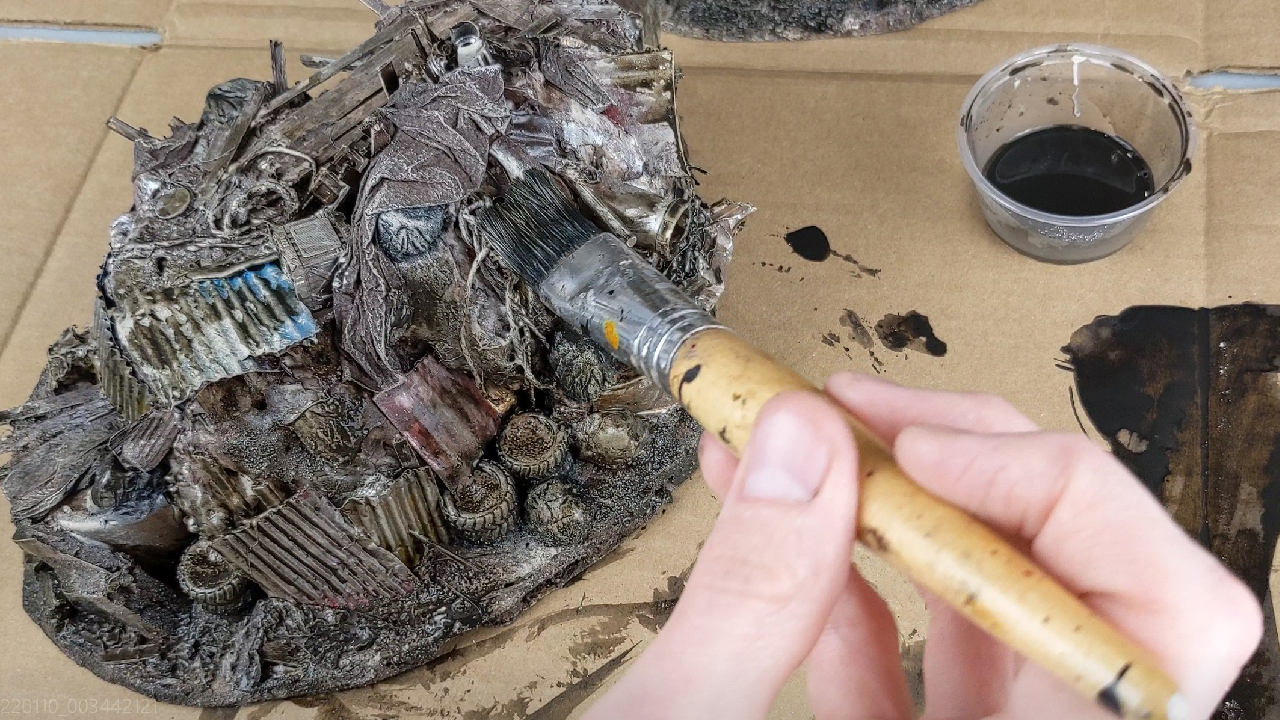
I don’t use exact proportions for my washes. I just add to them until I’m happy with them. This one I made pretty dark. I used black and brown ink, mod podge, water and a drop of dish soap.
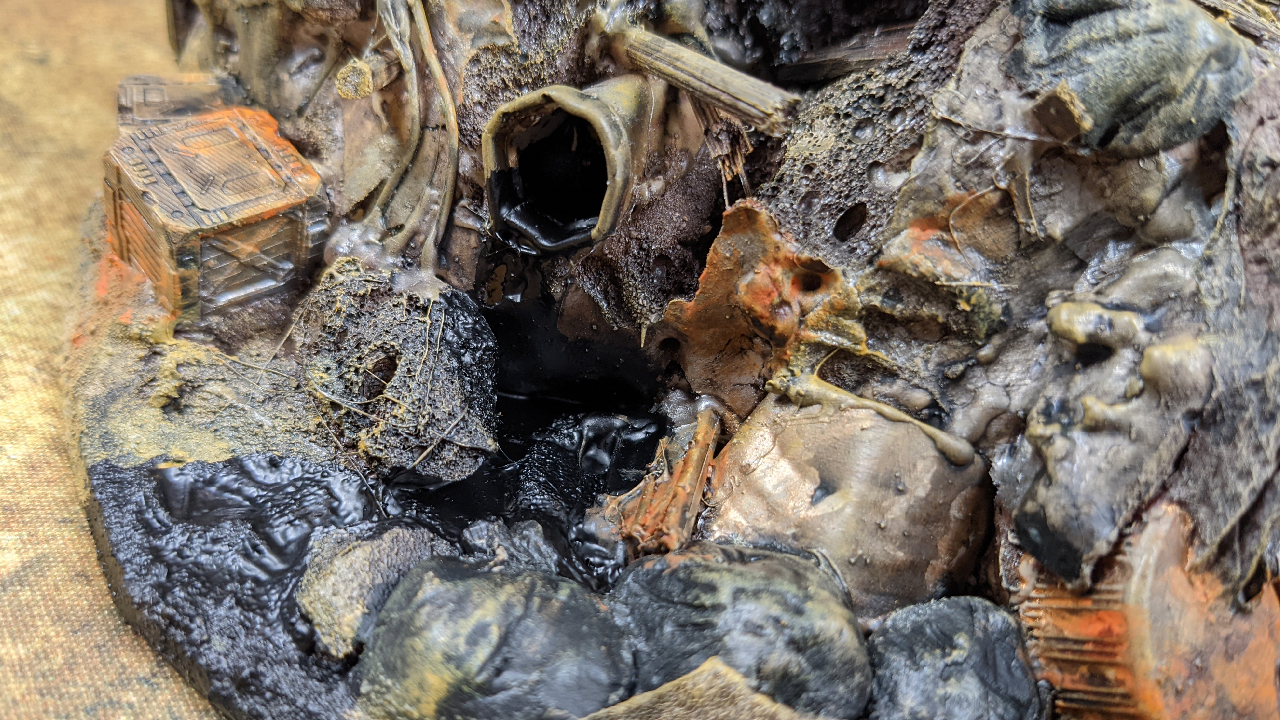
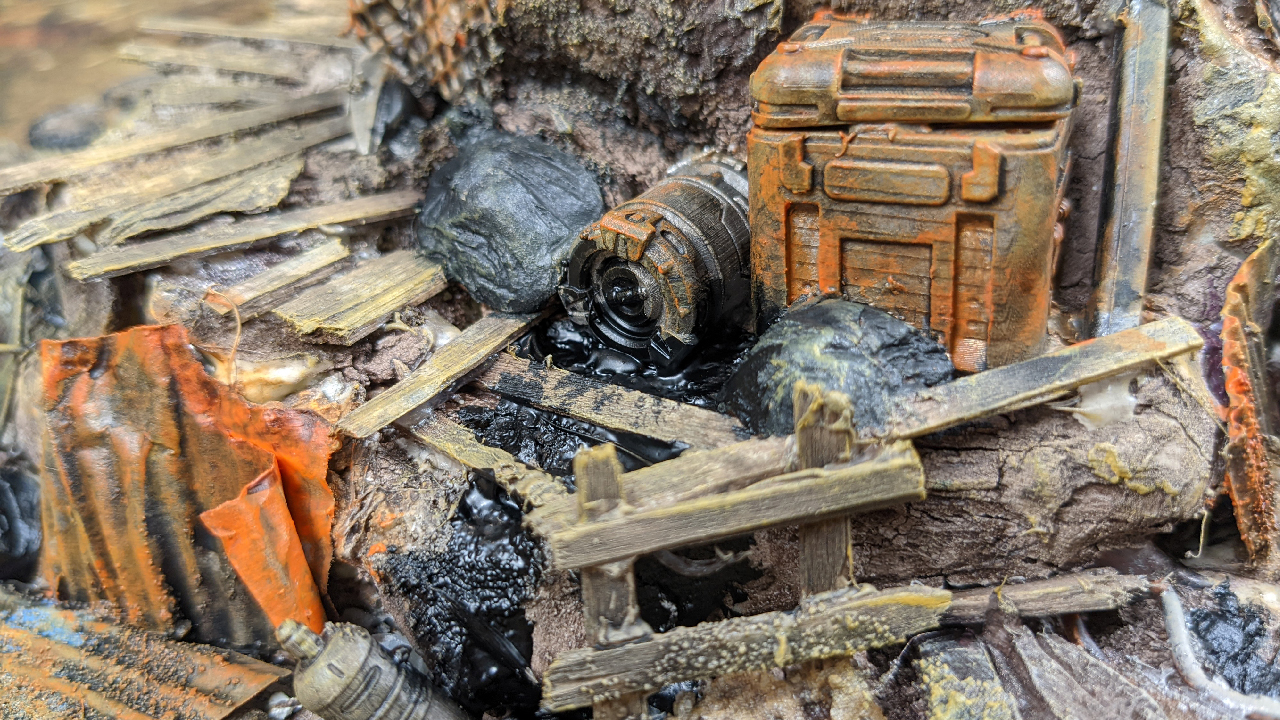
I mixed a thicker mixture up using just black ink and mod podge and spread that out in a few spots. That had the appearance of spilled oil. I poured some into this “cat-food-can pipe” that I made so it would slowly drip out while drying. (like a sewage pipe or something)
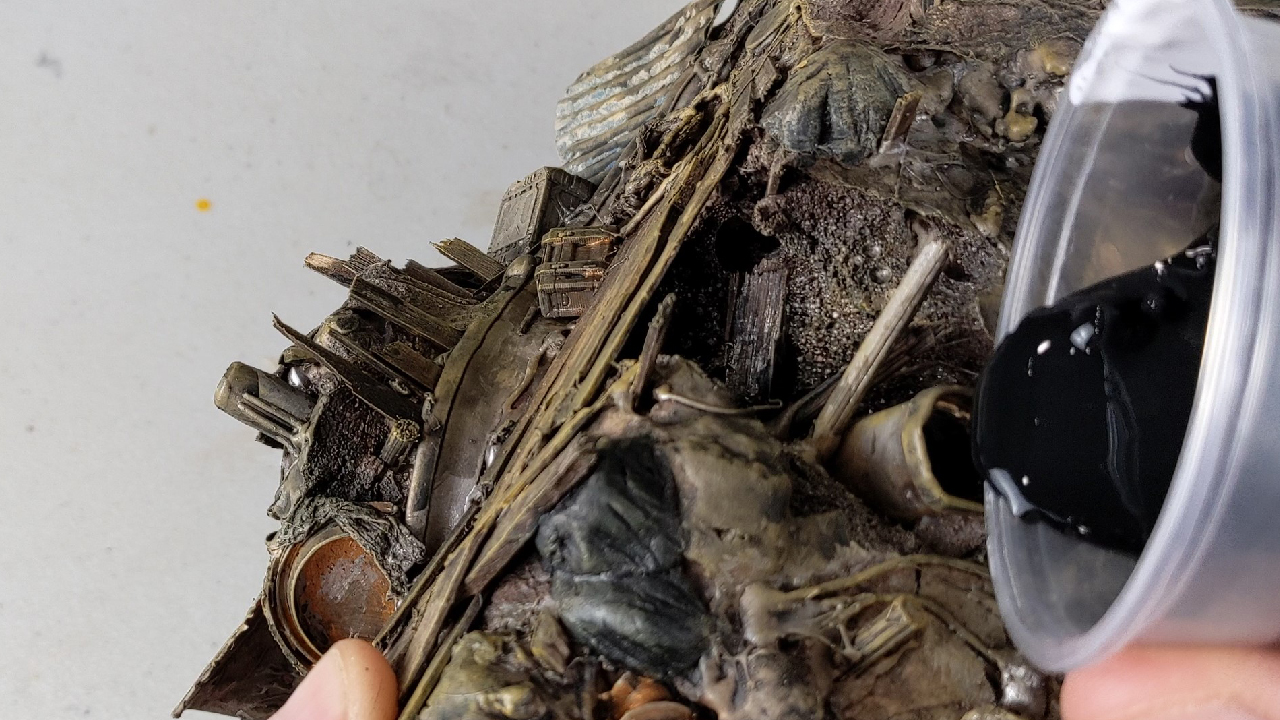
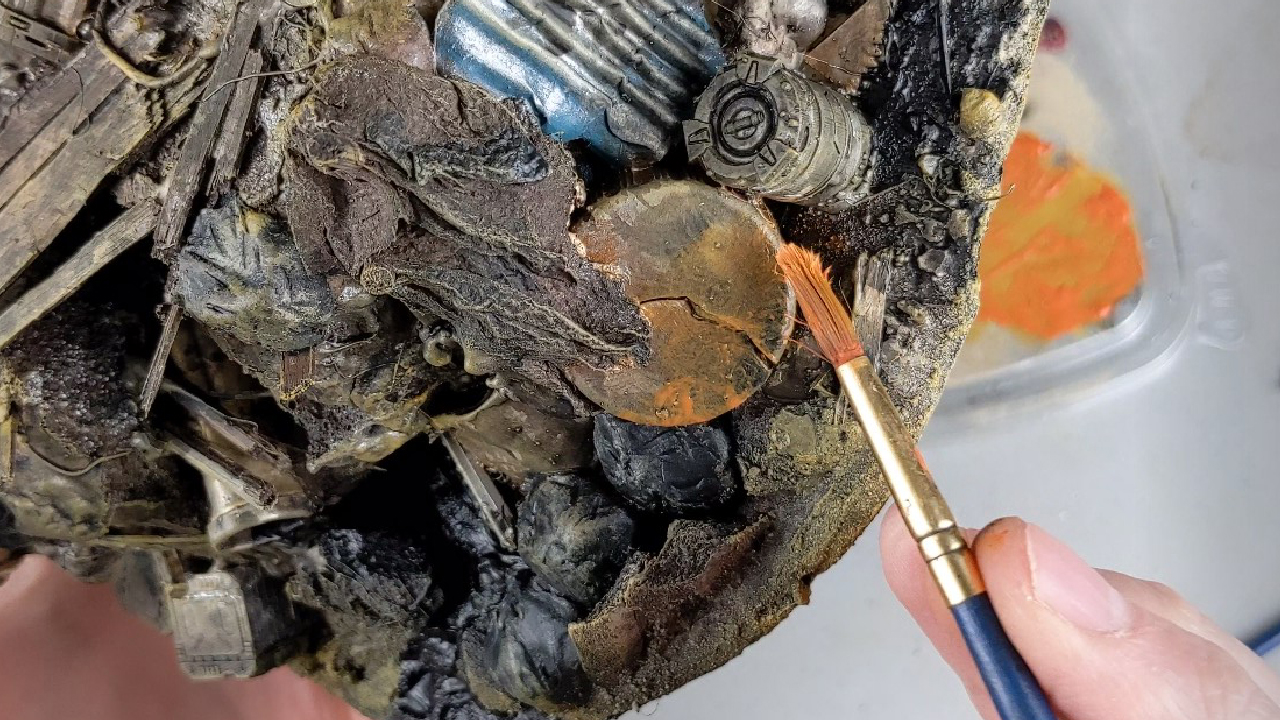
Almost done. I added some rust effects to most of the metallic bits, using a vibrant orange. They aren’t the best rust effects in the world but they’re good enough for me!
More Dry-brushing
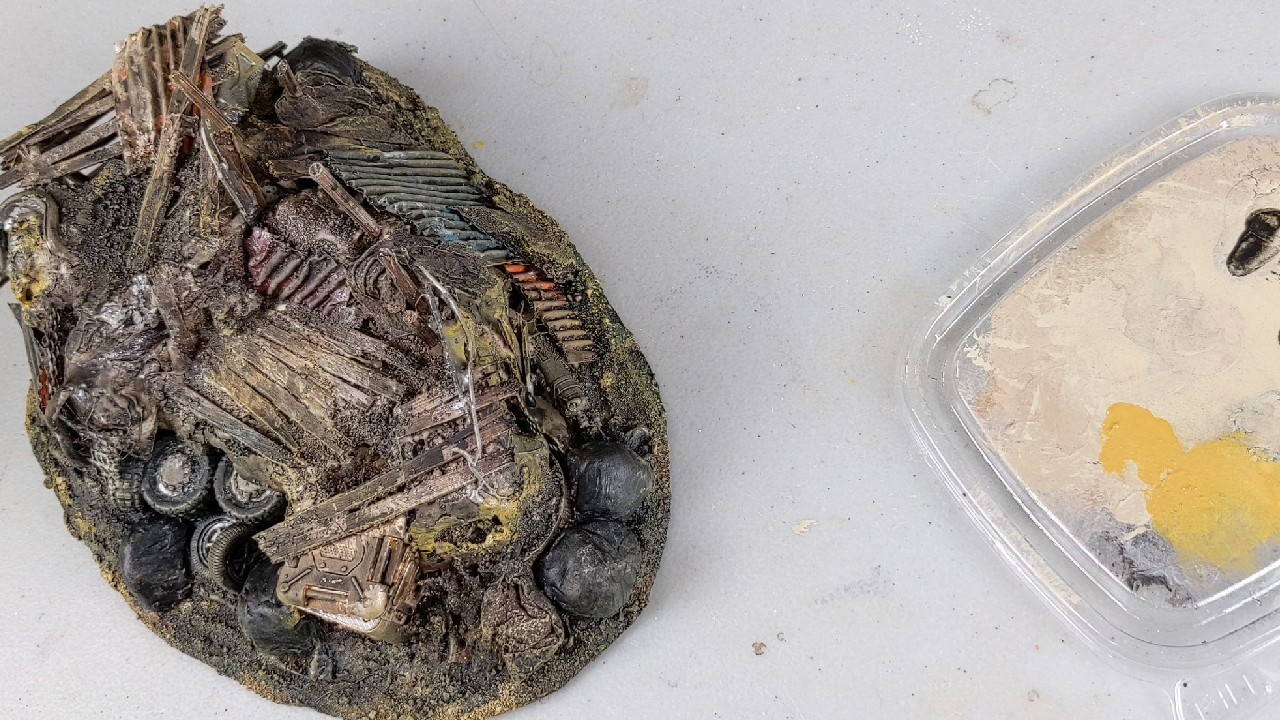
Finally I selectively dry brushed a yellow ochre color (Desert Yellow specifically) on the terrain nodes.
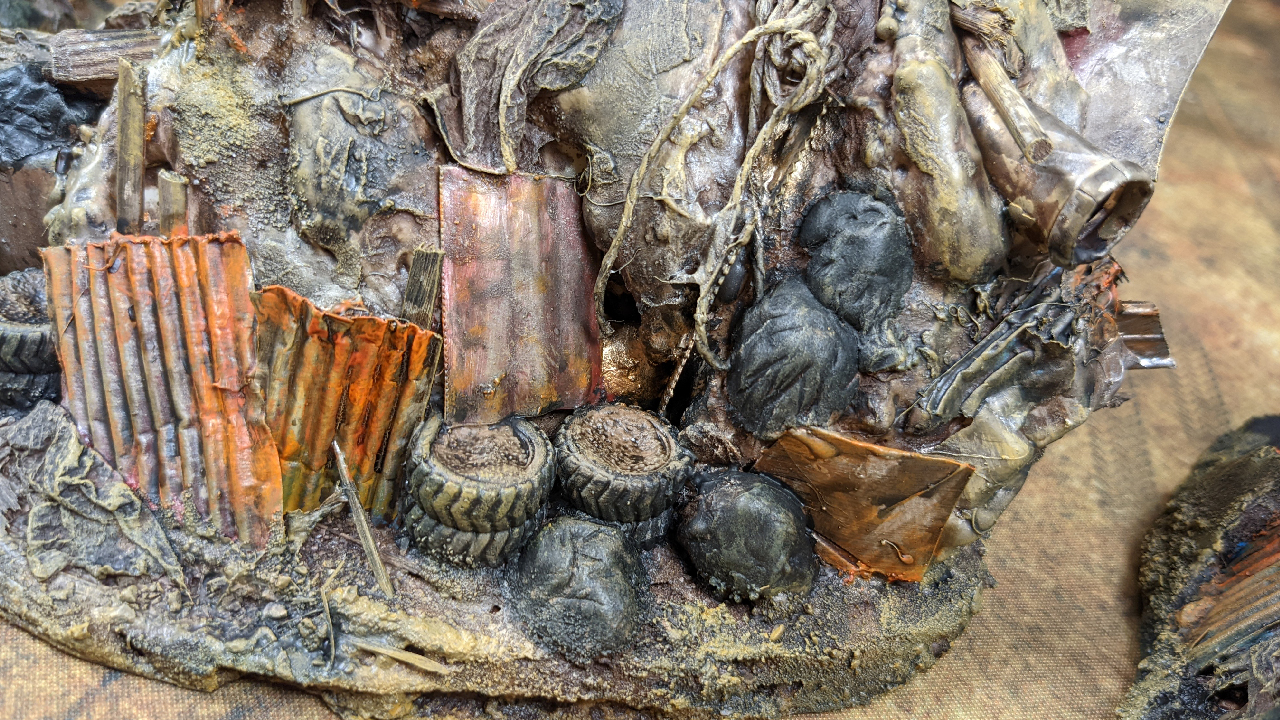
Here are some pictures of the final product!
Hopefully this inspires you to make some trash terrain!
I had a lot of fun making it. I used this process in my Wasteland Watchtower video as well. if you are interested in seeing some more examples of this check that video out!
I hope you enjoyed my tutorial and found it helpful!
FOR MORE IN DEPTH TUTORIALS & PROJECT UPDATES CHECK OUT
SUBSCRIBE to the Haunts’ Wargaming YouTube Channel
I’m also on Instagram and Pinterest if you want to follow me there!
