Materials
- MDF Board – Buy at a Hardware Store
- FOAM SHEETS – Buy at a Hardware Store
- CONSTRUCTION ADHESIVE – https://amzn.to/3mxYdlY
- HOBBY PAINT – https://amzn.to/3v02a6P
- MOD PODGE – https://amzn.to/3Buk8A8
- CORRIGATED CARDBOARD – https://amzn.to/3HM0Eex
- MATCHES – https://amzn.to/30YRue0
- COFFEE STIRRERS – https://amzn.to/3nI9nGK
- ARMY PAINTER METALLIC PAINTS – https://amzn.to/3CNy4pA
- DIY WASH: Water, Matte Medium, Ink and a dab of Dish Soap.
- MATTE MEDIUM – https://amzn.to/3EDTdUf
- INK – https://amzn.to/3mtcq59
- WOOD GLUE – https://amzn.to/3l5Y7SW
- SUPER GLUE – https://amzn.to/3xjtDBR
- KRYLON MATTE SPRAY– https://amzn.to/3DPBAkm
Tools
- JIGSAW – https://amzn.to/3mznE6T (Be Careful With This!!)
- DREMEL – https://amzn.to/3Fp5kWz
- HOT WIRE CUTTER – https://amzn.to/3FrVGmi
- BOX CUTTERS – https://amzn.to/3oCEMLs
- PAINT BRUSHES – Available almost anywhere
- HOT GLUE GUN – https://amzn.to/30Os9Up
- SCULPTING TOOLS – https://amzn.to/3DIOXD0
Getting Started
Originally I wasn’t planning on turning this mesa into an outpost, but the thought of building some cliff side walkways was just too tempting. So I had to do it!
I started by cutting out a large 1/4″ MDF base with a jigsaw and beveled the edges with a Dremel. Then I slapped together a rough core with chunks of styrofoam packaging and construction adhesive. This was very flimsy but I didn’t need it to be super solid since I was planning on filling the whole thing with spray foam later.

Forming the Mesa
To create the rock walls, I cut out sections of foam board with my hot wire cutter, securing them with construction adhesive. Once I was happy with the overall shape of the mesa, I filled the cracks and gaps with spray foam. I also went around the base with spray foam. One can of spray foam was the perfect amount for this project.
Once everything was dry I went back in with the hot wire cutter and a knife, cutting off any excess foam. I cut an angle into the foam around the base, to mimic the angular rocks generally found at the base of mesas.
Note: Spray foam loses its strength once you break the outer core. This is why I use it sparingly. It’s great for situations like this where there isn’t a lot of surface area showing. It’s mostly there to add structural integrity and fill in the gaps.

Texturizing Desert Rocks
If you want a more detailed description of how to add texture to desert rocks and paint them check out my tutorial on that HERE!
I used the same techniques I’ve used in previous projects for texturizing the rocks. The only thing different about this project was the spray foam. The spray foam around the base of the mesa was pretty spongy since I had cut so much of it off. I added a lot of wood glue to that to harden it up, piling rocks, grout and sand on in the process.
I then covered the mesa with drywall compound to hide any foam lines.

Building the Platforms/walkways
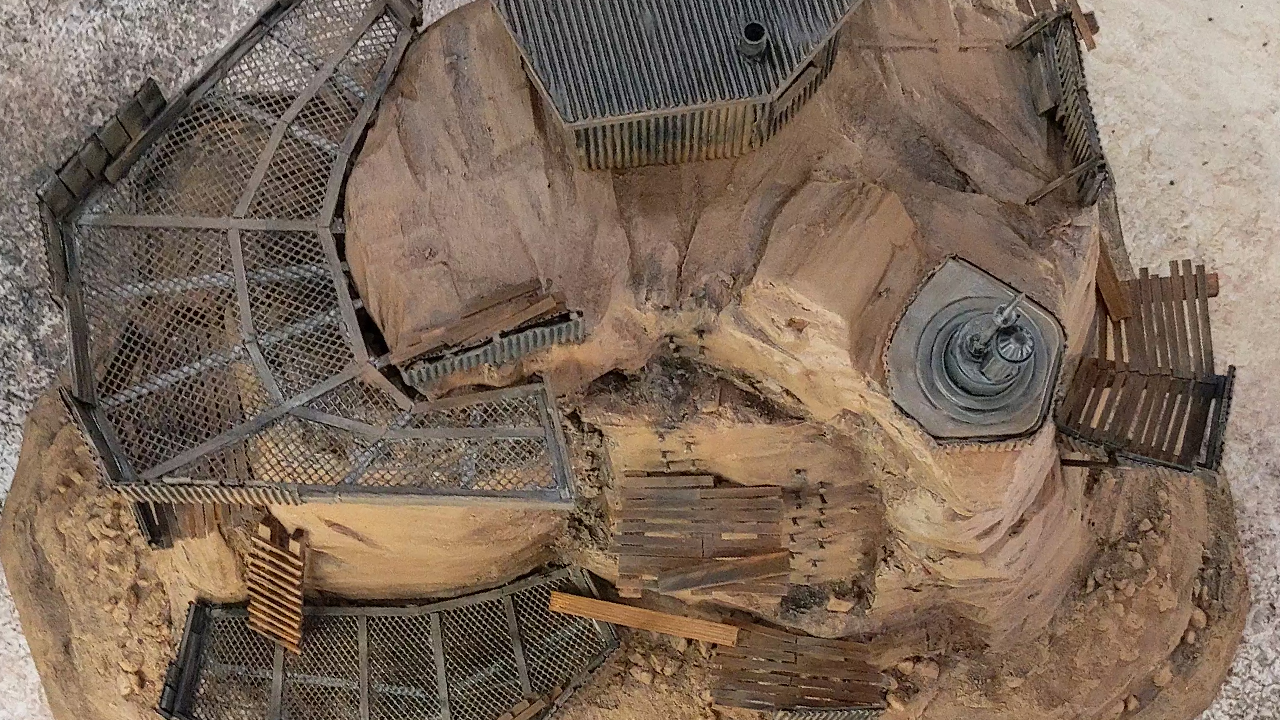
After doing some sketches to get an idea of how I wanted my platforms laid out, I stuck skewers into the foam where I wanted my beams to be.
I wanted to do 2 different types of platforms: Wooden and Steel
I cut some tiny wooden beams with my table saw and stained them. I cut a sharp angle on the ends of the beams to make it easier to push them into the foam.

Also, I made steel beams with coffee stir sticks, first gluing them together with super glue and then wood glue to get a stronger bond.
Note: You can paint them before or after you attach them. Whichever is easier.
One by one, I removed the skewers and shaped the holes with a sculpting tool. (“I” shapes for the steel beams and square shapes for the wooden beams.) I glued the I-beams in with wood glue and the wooden beams in with hot glue, taking care to make sure everything was level.
Using skewers, I added supports underneath some of the longer beams.

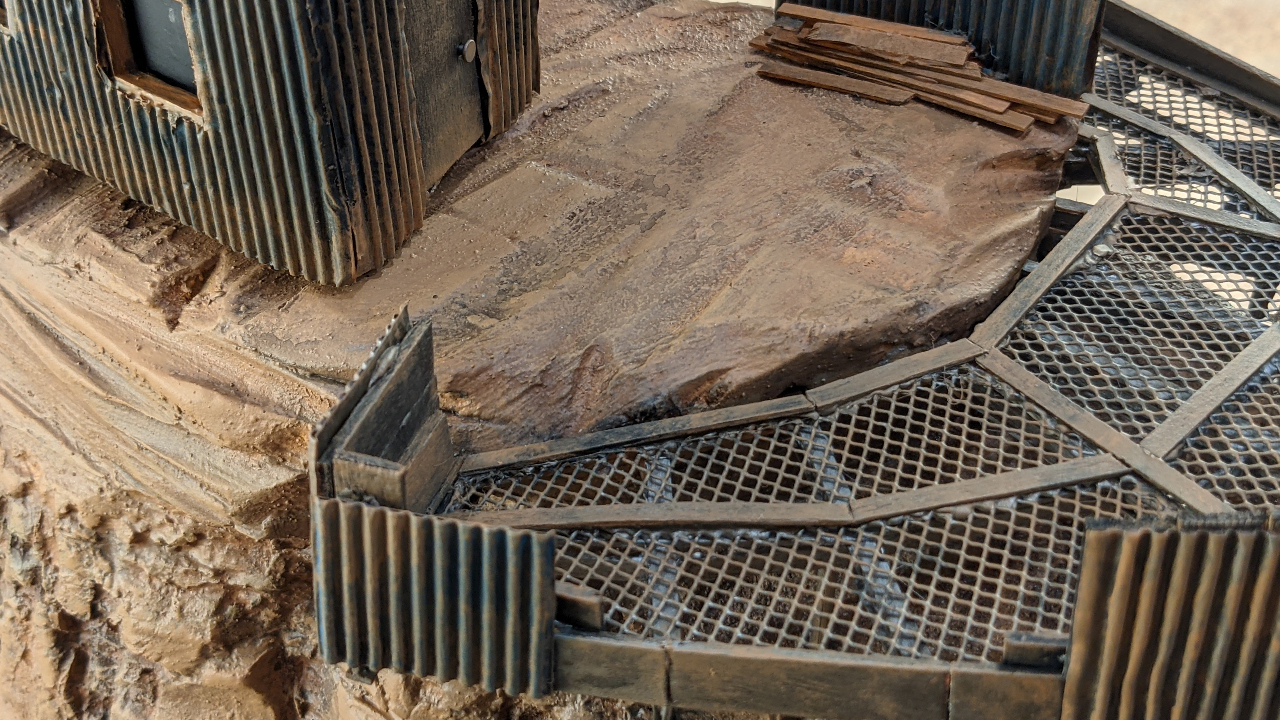
For the steel platforms, I found a container with a mesh material at the Dollar Store. I cut that out and flattened in to fit on the platforms. I hot glued stir sticks around the edges, above and below the beams, sandwiching the mesh in between. The stir sticks look like trim and hide most of the hot glue globs.
For the wooden platforms, I just cut more stir sticks out and glued them on top with wood glue. I made a few piles of “scrap wood” as well to add some detail.

Corrugated Cover
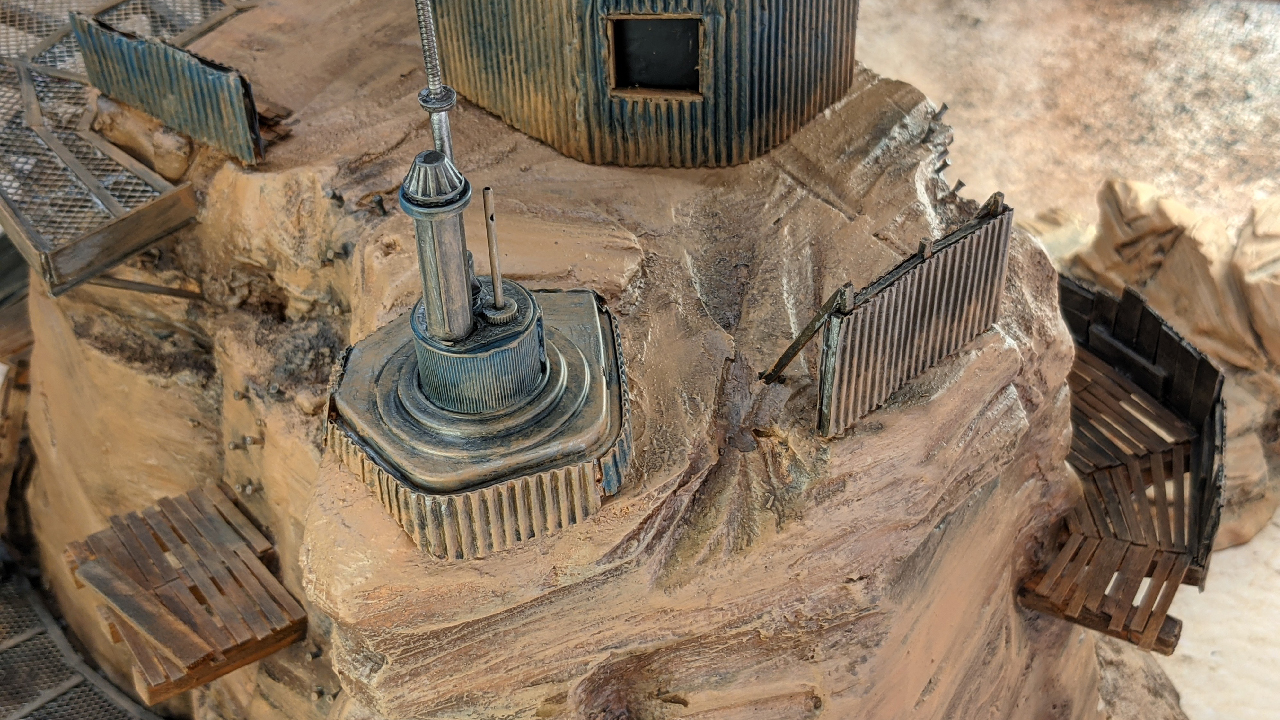
With the platforms and walkways done, I added some walls for cover. I went with a fairly rugged look for the cover.
I used corrugated cardboard (Which looks like tiny corrugated metal sheets) backed with bits of popsicle sticks. I covered the cardboard with a mixture of Mod Podge and paint. The Mod Podge helps strengthens the brittle cardboard up a bit.

Rock wall & wooden Ladders
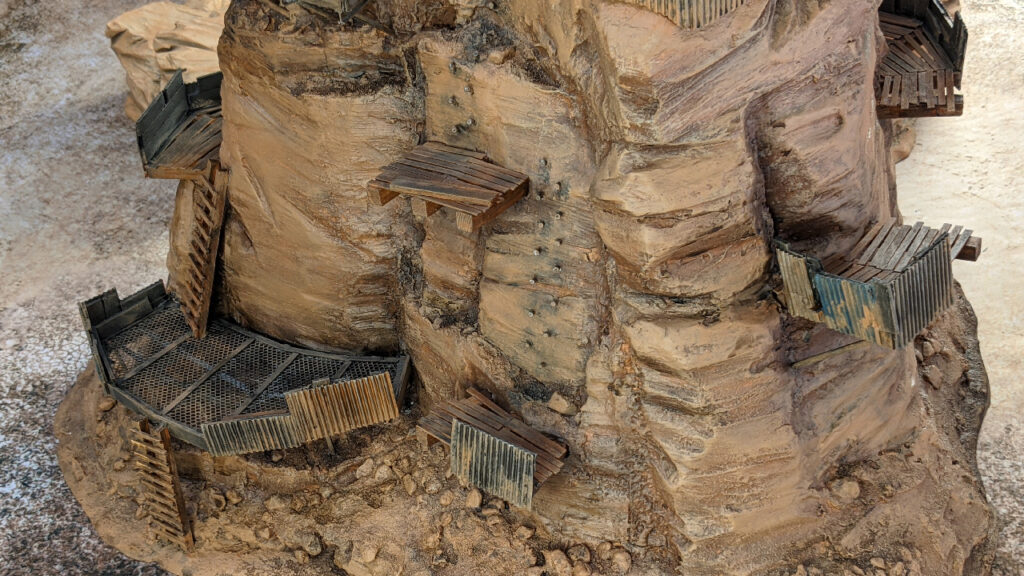
For the wooden ladders I taped some pieces of painters tape onto my table. I stuck my ladders on the tape to construct them, spacing them out with popsicle stick bits. This keeps them from moving around. I then glued the match stick rungs on with wood glue and let them dry overnight.
This is a great technique I learned from Black Magic Craft.

I stuck some nails into a few vertical sections to make rock climbing ladders. I don’t know if there is a proper term for this or not, but I think it looks cool.

Outpost building & Radio Tower
Check out my video to see how exactly I built these 2 structures.
The radio tower is built with a piece of an old respirator filter, a paint cap and some hardware bits. I wrapped corrugated cardboard around the base of it.
The building is made from cardboard, corrugated cardboard and stir sticks. For the windows, I cut out bits of window tint and glued them to clear plastic bits, which I then glued to the inside of the building.
I didn’t glue the building down. That way I can use it as stand along terrain if I ever want to! Also the antenna is removable for easier storage.

A Final Dry-brushin'
I gave everything a dusty dry brushing. This really tied everything together nicely. I think it ended up looking really good. Now I have to figure out where I’m gonna store this beast…


I hope you enjoyed my tutorial and found it helpful!
FOR MORE IN DEPTH TUTORIALS & PROJECT UPDATES CHECK OUT
Or Check out the Haunts’ Wargaming YouTube Channel

