In this article I’m going to explain how I created some wasteland vehicle terrain pieces. I used modern day vehicles for this project, but the process could be applied to any metal vehicle such as 40K tanks, fallen titans, etc. Enjoy!
Finding Cheap Vehicles
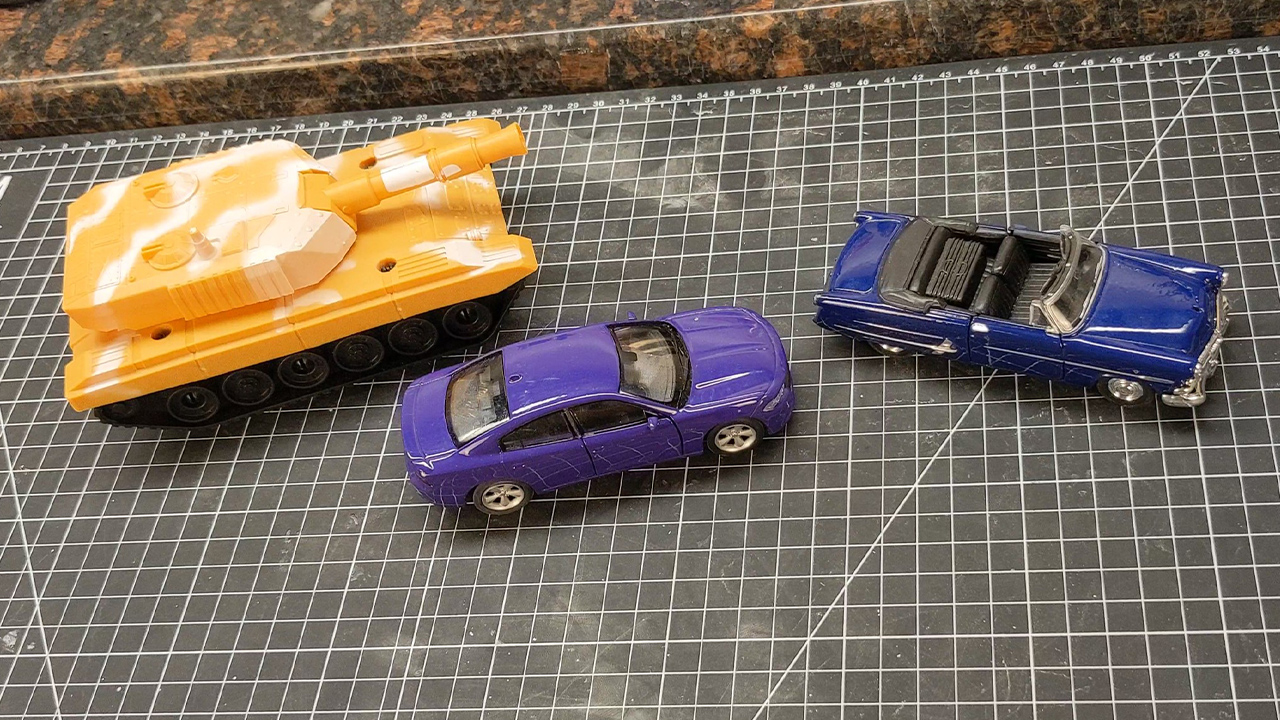
After much more searching than I anticipated, (I went to 5 stores!) I settled on using the 3 vehicles pictured above for this project. A cheap dollar store tank and 2 diecast cars. (roughly 4.5-5 inches long)
Junkifying
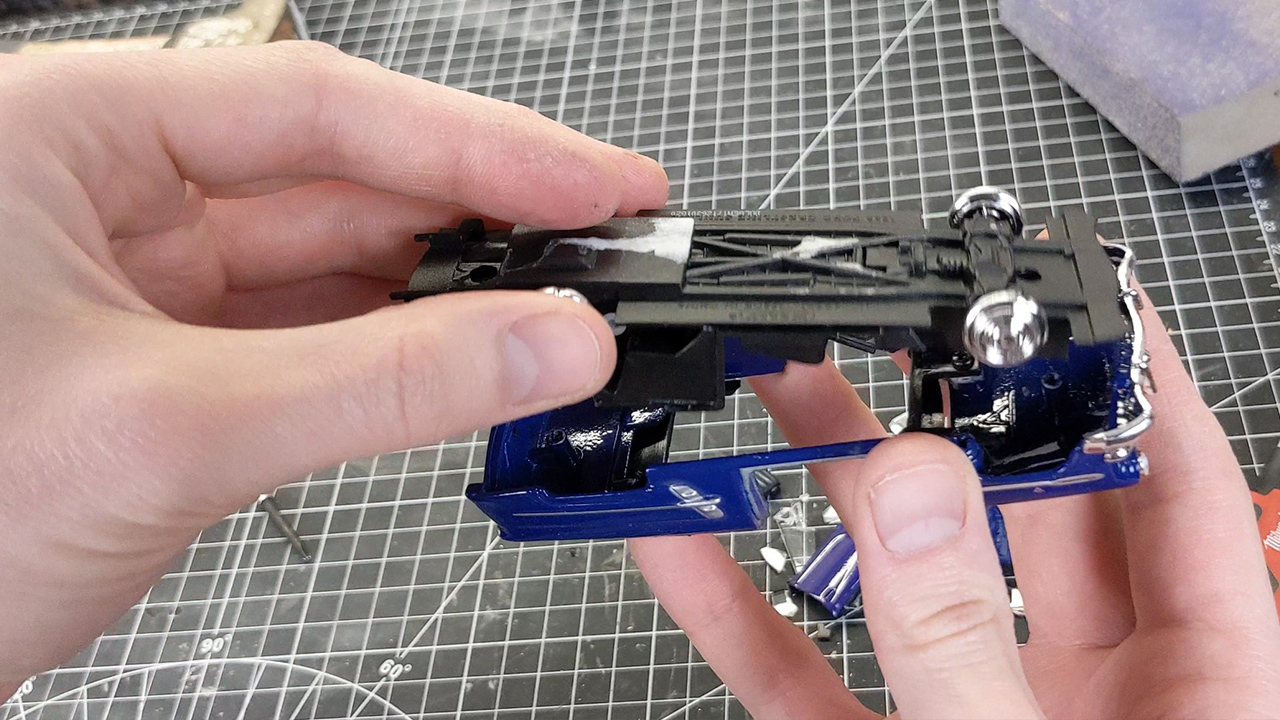
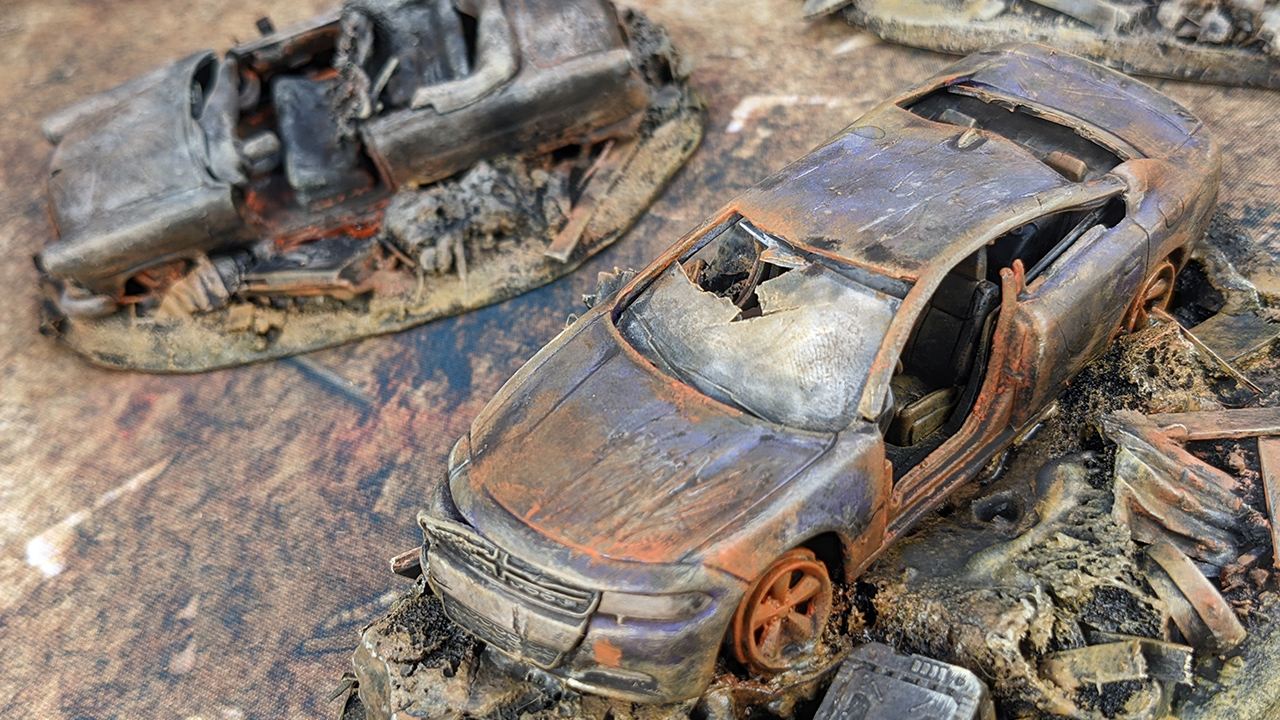
I took the diecast vehicles apart, removing the interior, undercarriages, axles and tires. The exteriors were made of metal so weathering them required a hammer and pliers. With a respirator on, I sanded them down as well to add more wear to the exterior panels.
I used a Hammer and chisel to carefully crack the “glass” (plastic) windows.
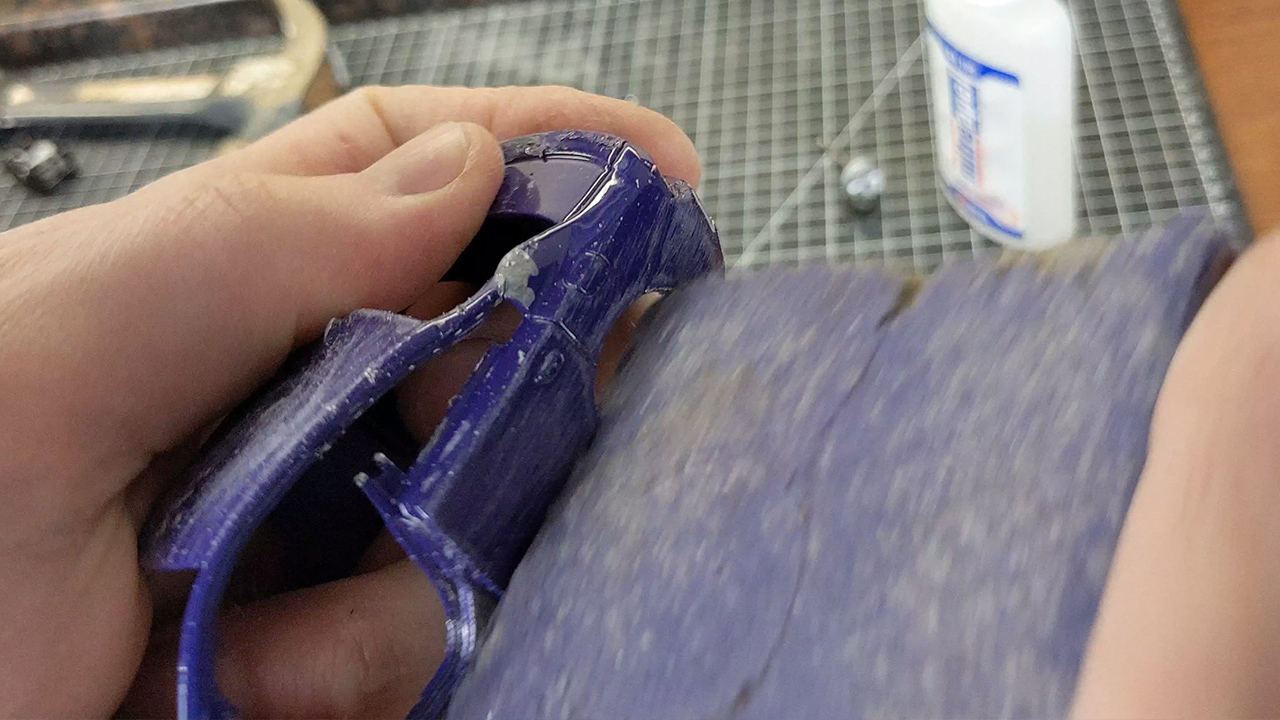
Once they looked sufficiently beat up, I glued the interiors and axles back on. The undercarriage and gear boxes went into my bits box for future projects.
Don't try this at home!
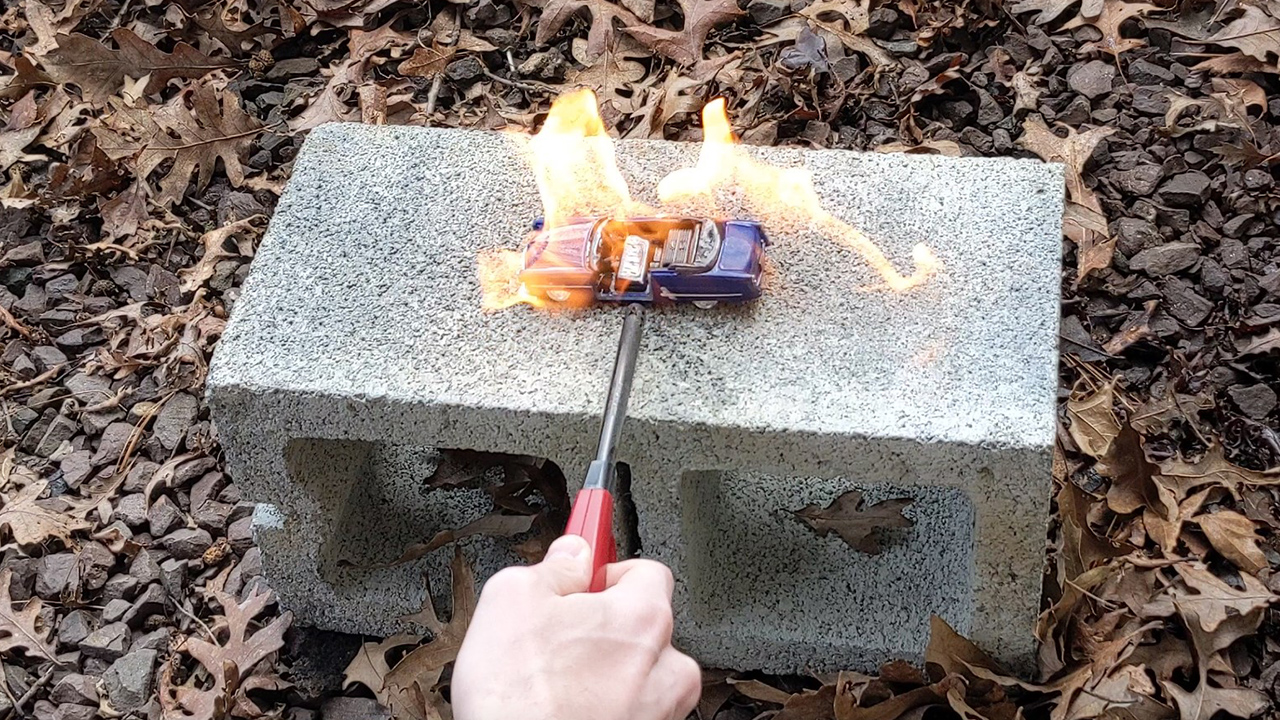
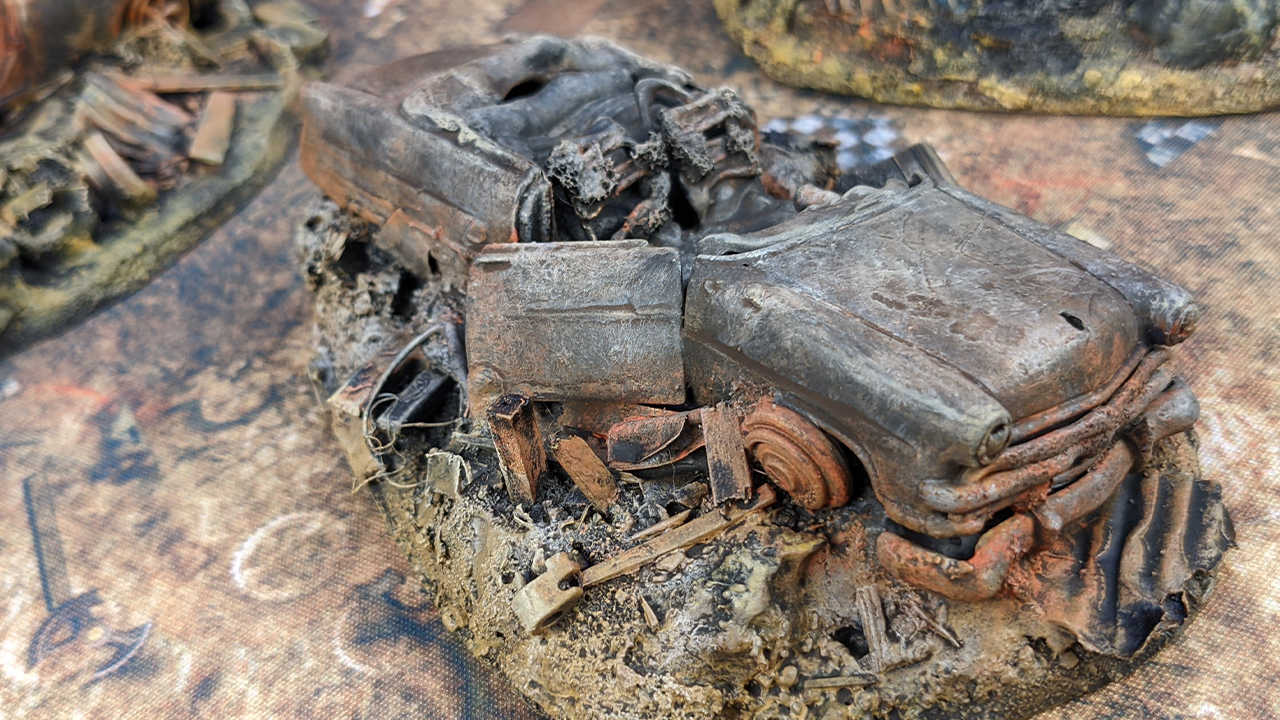
After removing the seat backs, I lit the classic convertible on fire to get a burnt-out car fire effect.
Note: This was a controlled burn. Be careful if you decide to try this! And obviously do it outside.
Honestly, I don’t think I let the interior melt for long enough to get the proper effect.
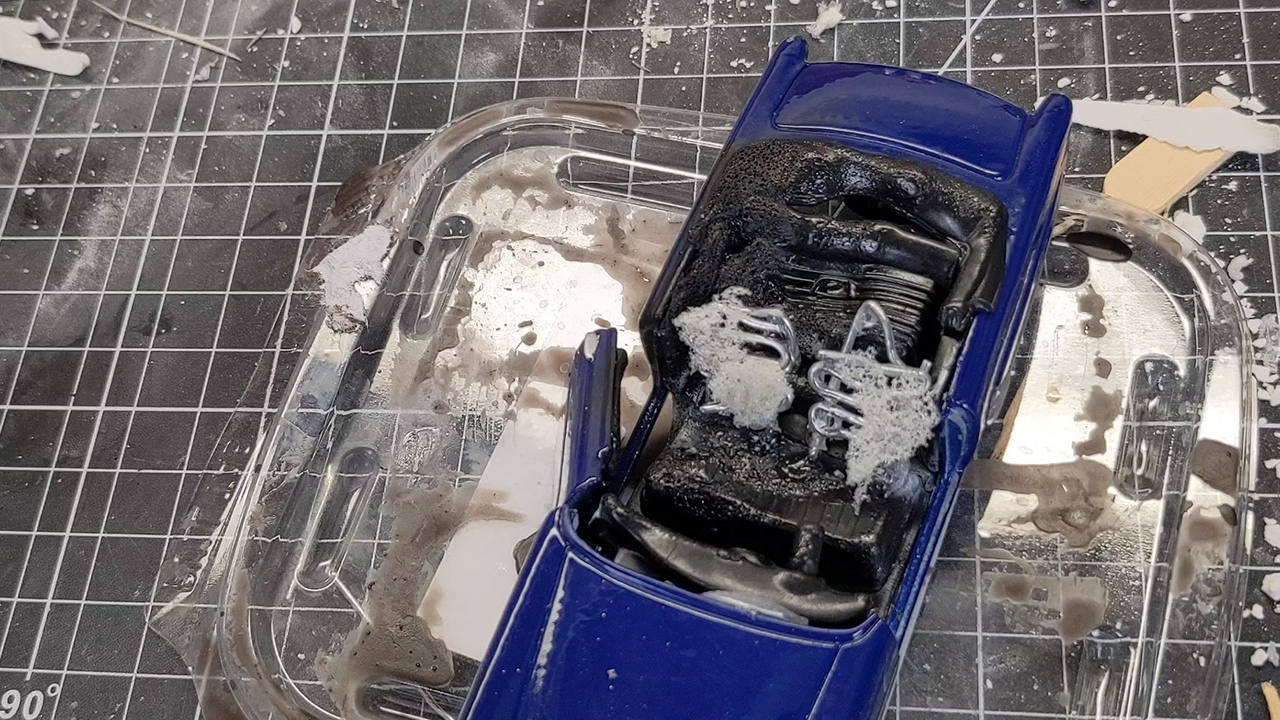
For the seat backs, I bent some paper clips up to create seat frames and glued them into some pre-drilled holes. Then I glued some bits of spray foam over the paper clips. This should help sell the burnt-out interior look.
Bring the HEAT
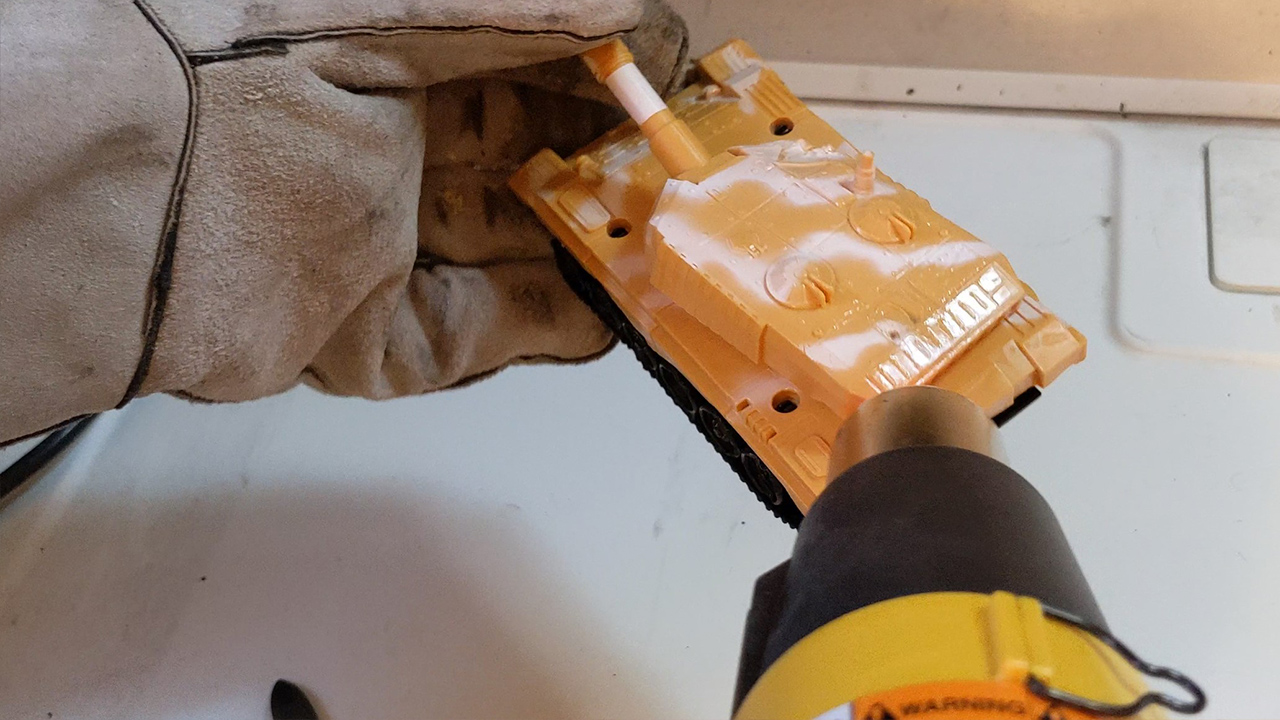
In a well-ventilated space, I used my heat gun to melt and remold the tank.
Note: If you use a heat gun be careful where you point it and always turn it off when you are not using it! These get hot enough to start a fire. I’m wearing a welding glove here to protect my hand.
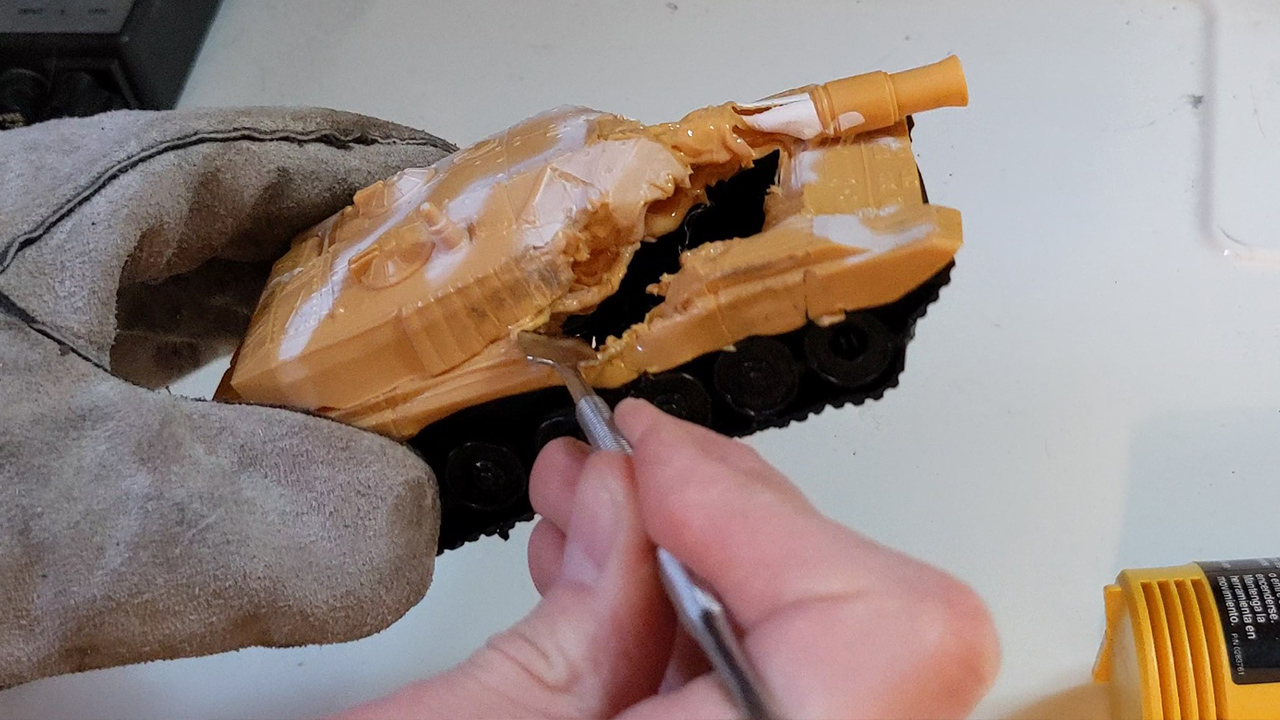
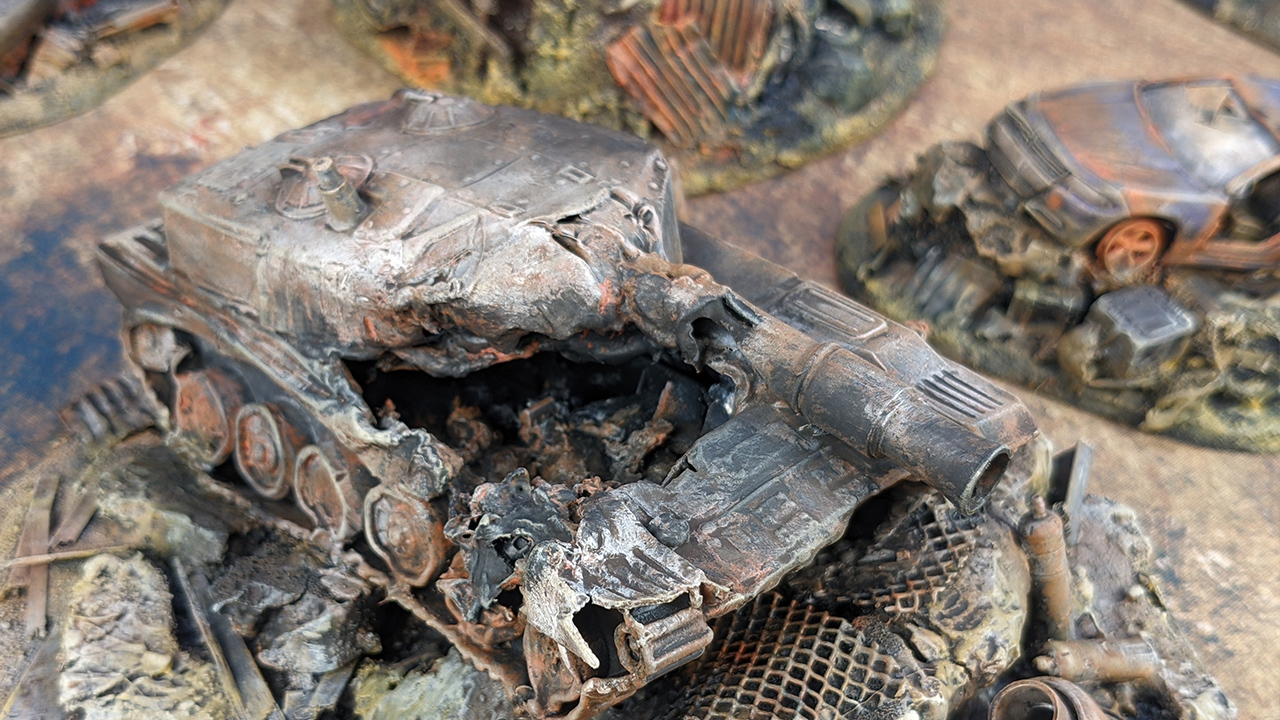
Then, while the plastic was soft, I shaped it with a sculpting tool. I poked a large hole in the top to make it look like it had been blown up.
Basing
I have a few unused foam board bases with spray foam on top that I’ve been using for these Post Apocalyptic projects. I used them for this project as well! The spray foam has great spongy texture and works well for something like this.
I hot glued each vehicle down onto a terrain node and with wood glue I attached some random bits, sand and scrap crafting pieces. I wanted the bases to look like piles of rubble. (similar to the trash piles I made but with less trash :p)
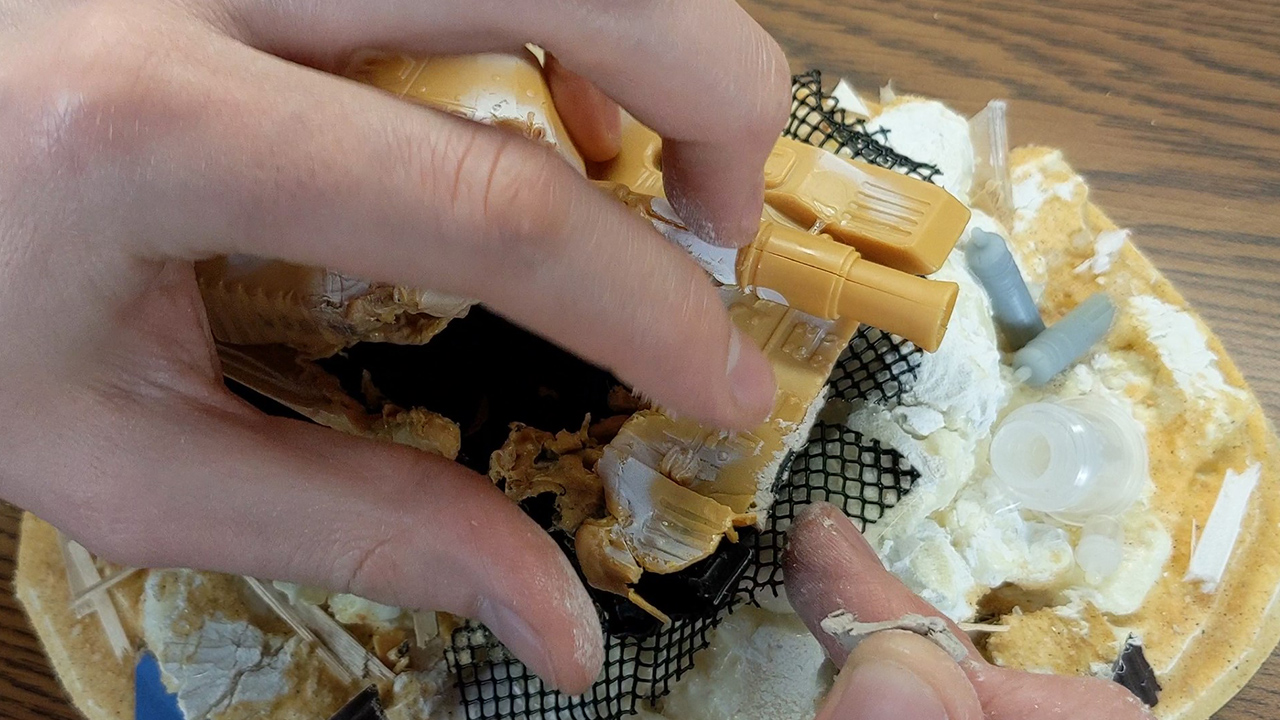
For the tank I cut out a section of mesh and glued it underneath to make it look like it had partially driven over a fence when it took some heavy fire.
To add some rubble to the interior of the tank I used air dry clay. I used that to fill in the many gaps and screw holes as well. I gave that 2-3 days to dry.
Painting
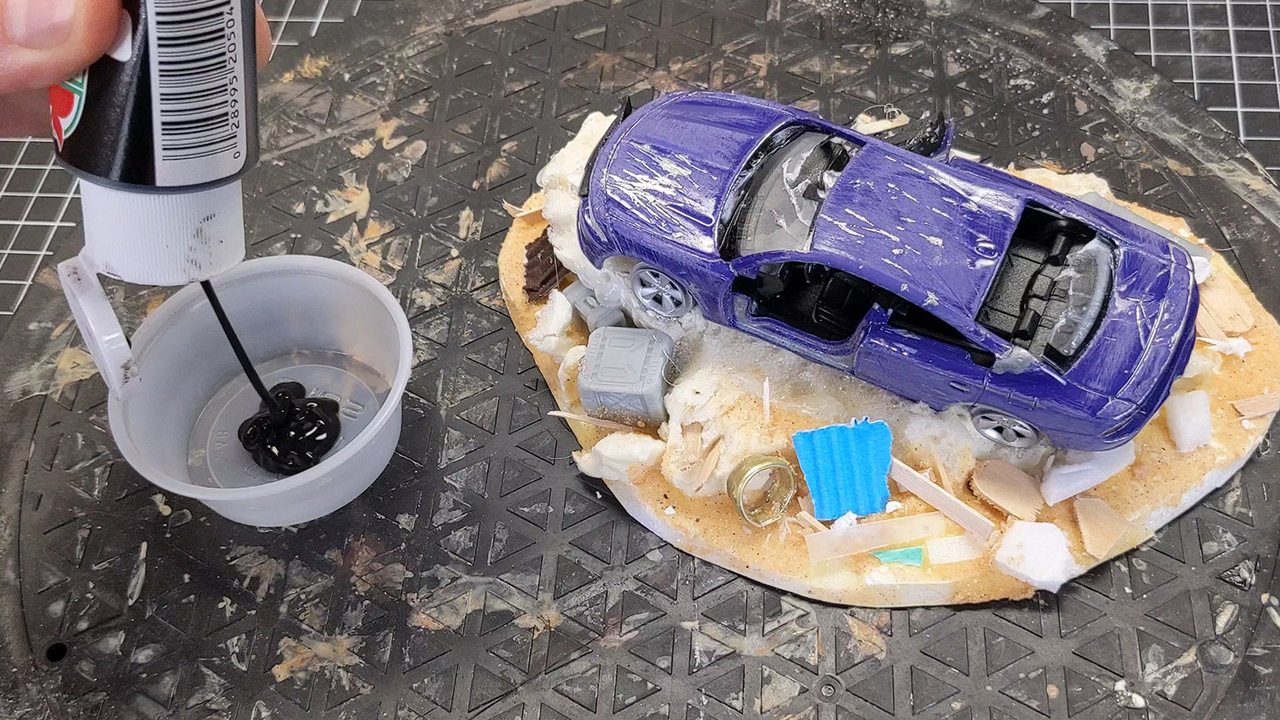
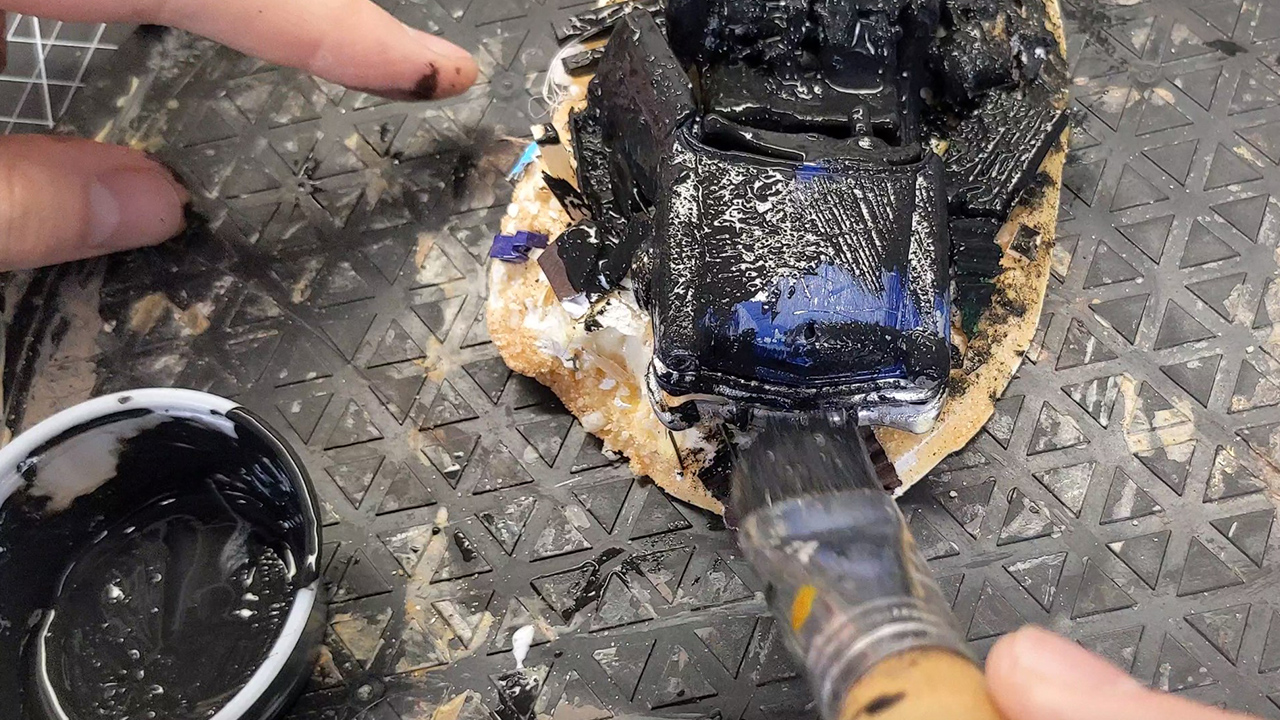
Using a 50/50 mixture of Mod Podge and black paint, I base coated each terrain node. I left some of the original color on the cars exposed.
Note: The Mod Podge seals the foam, so it can be safely spray painted. (or in this case sprayed with varnish)
Dry-Brushing Like a Boss
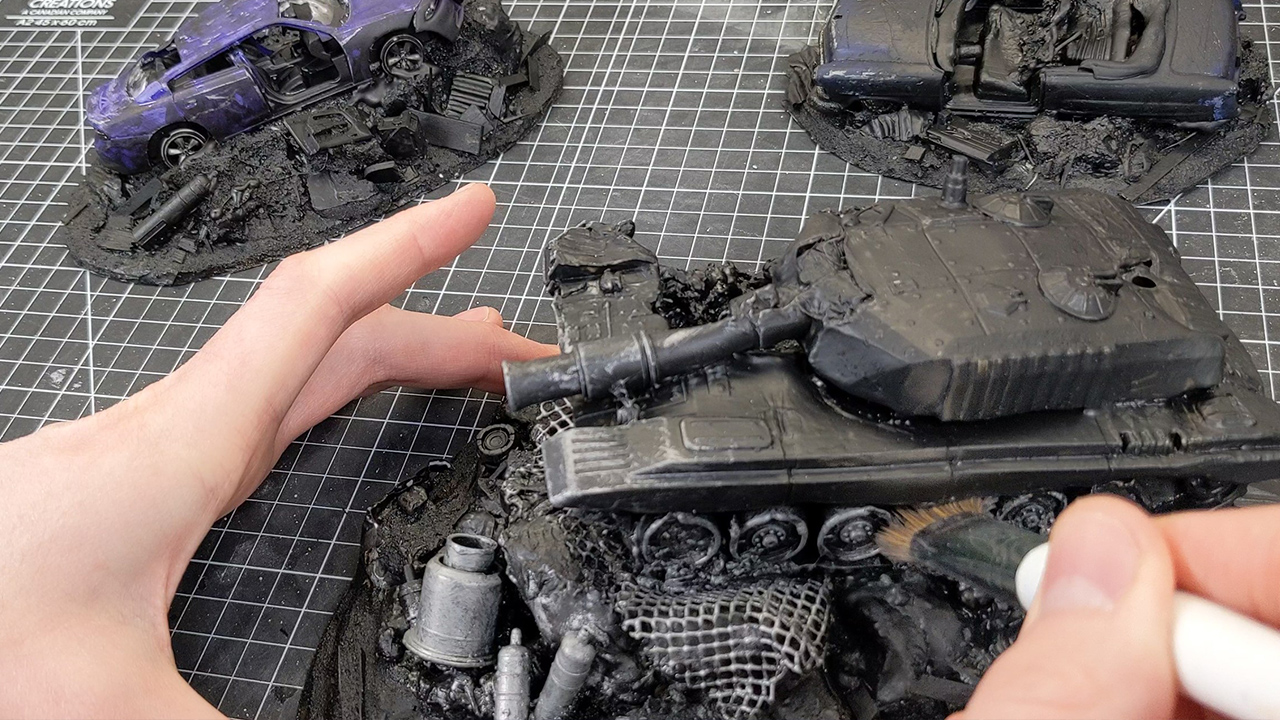
Each terrain node was then dry-brushed with Plate Metal, creating a bit of a zenithal effect. I also blocked in anything I wanted to be metallic like the fence and various canisters scattered around the bases.
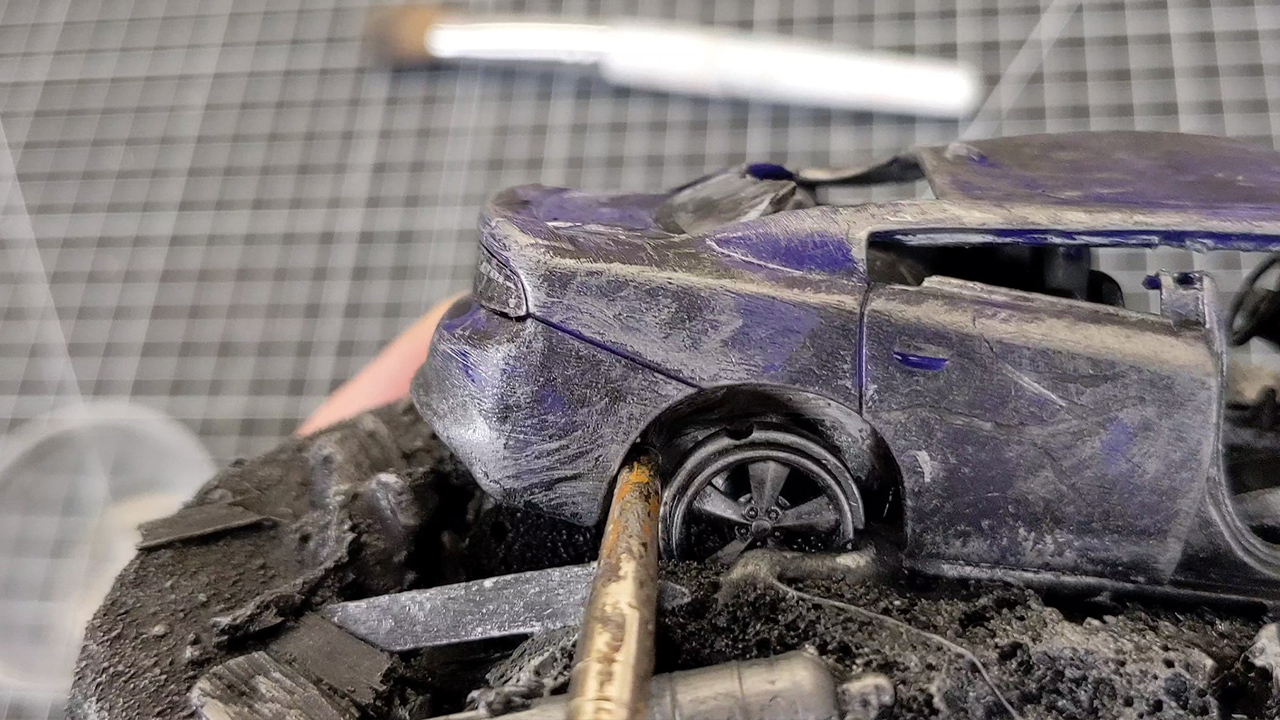
Painting the details
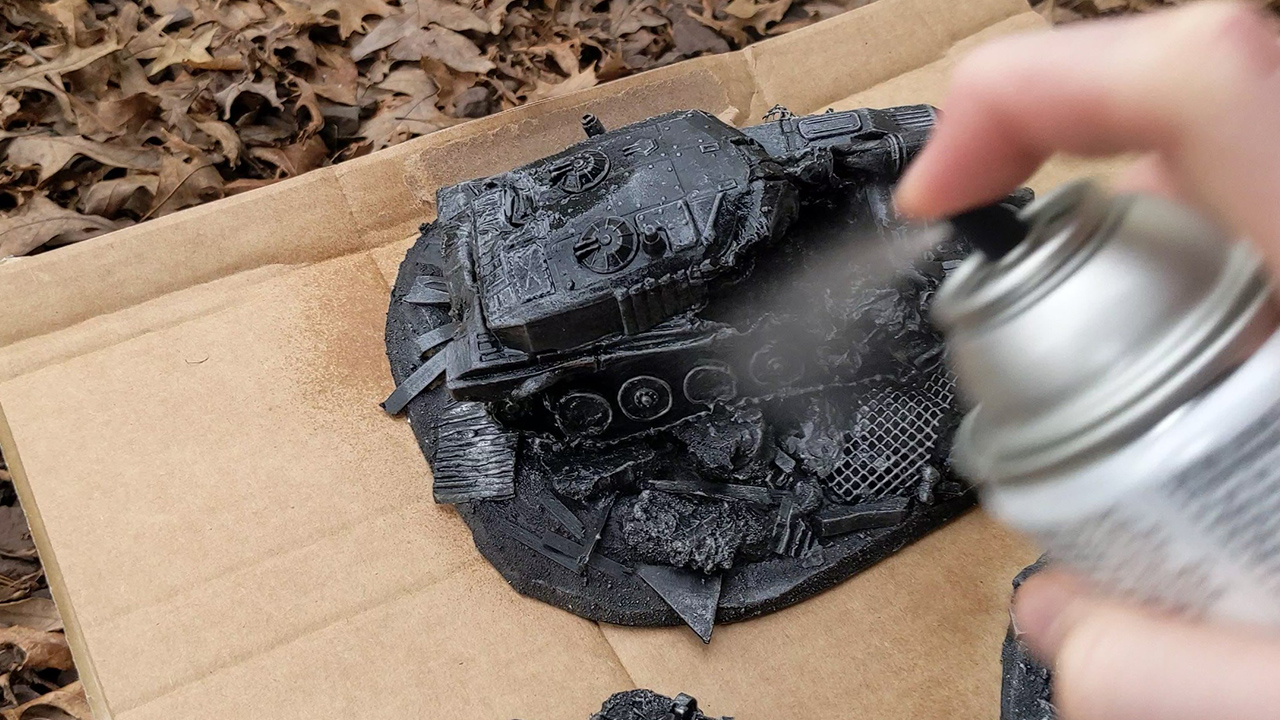
Before continuing, I applying a coat of matte varnish to seal everything in.
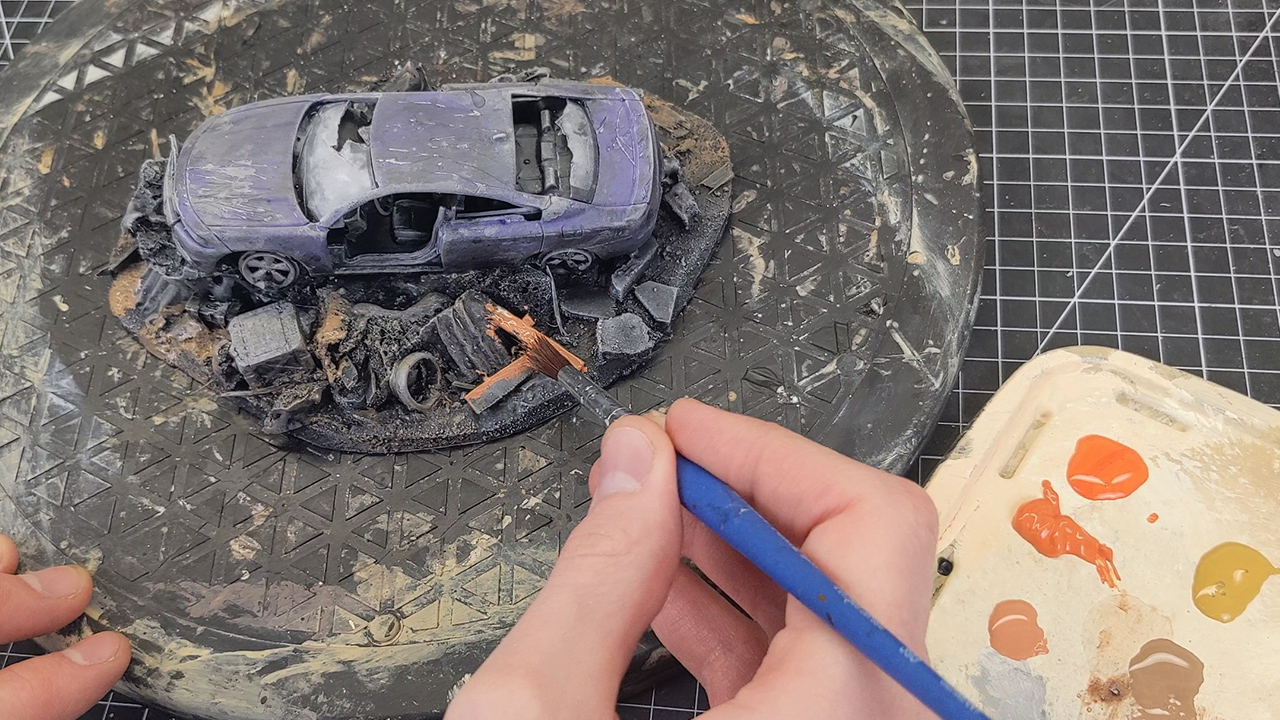
Next I went in with a couple colors. Monster Brown for a layer of dirt and Tanned Flesh for the boards and scrap wood bits.
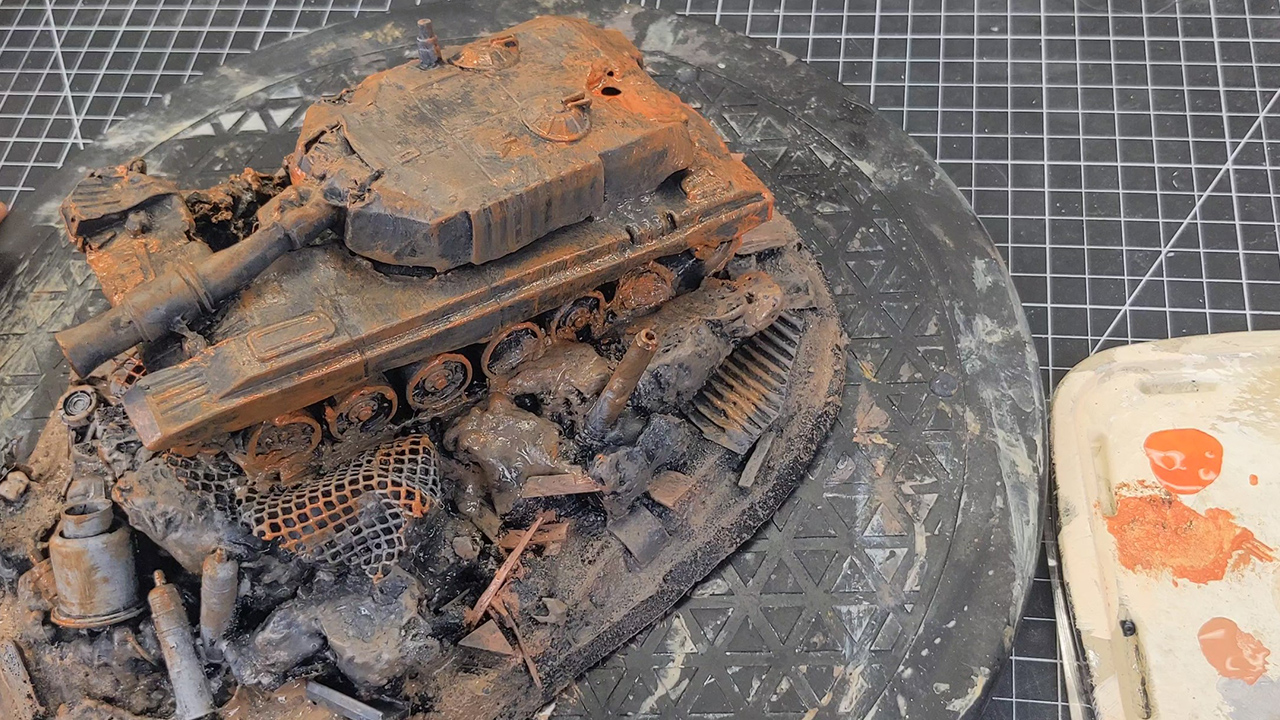
I used Dry Rust and Lava Orange for the rust effects. I applied those heavily on the tank and selectively on the cars, mostly around the lower halves, panel edges and rims.
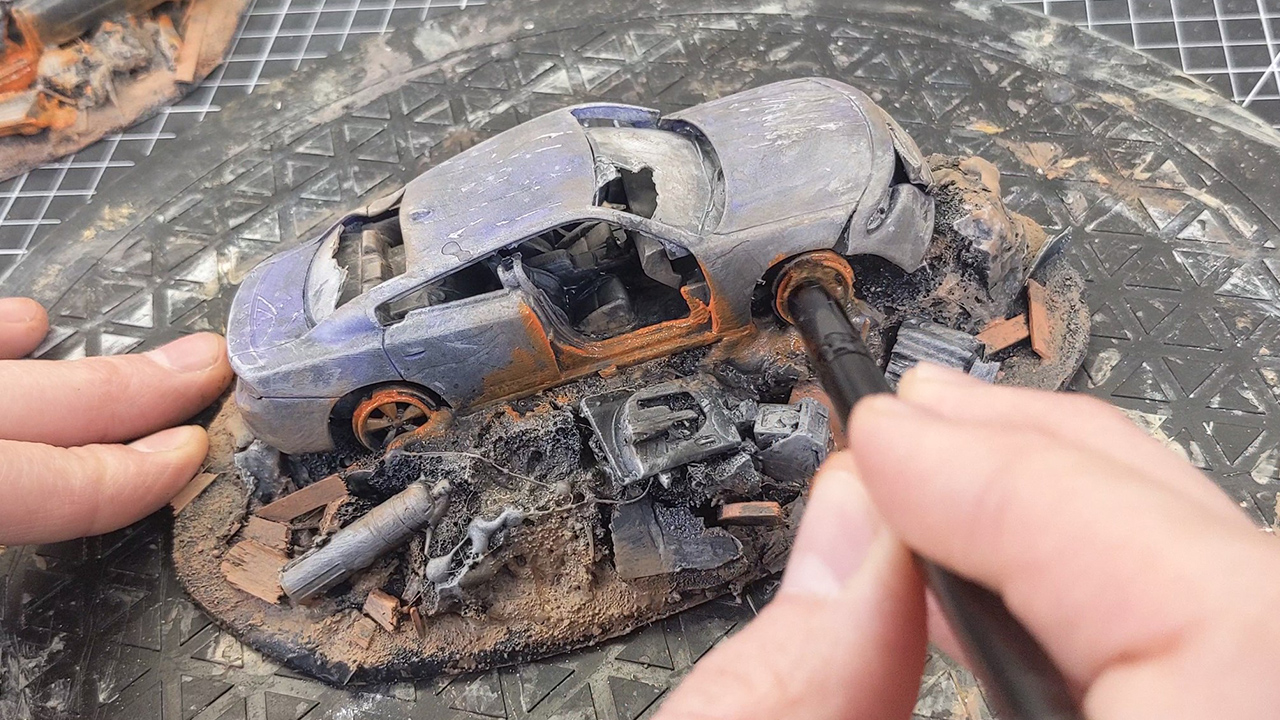
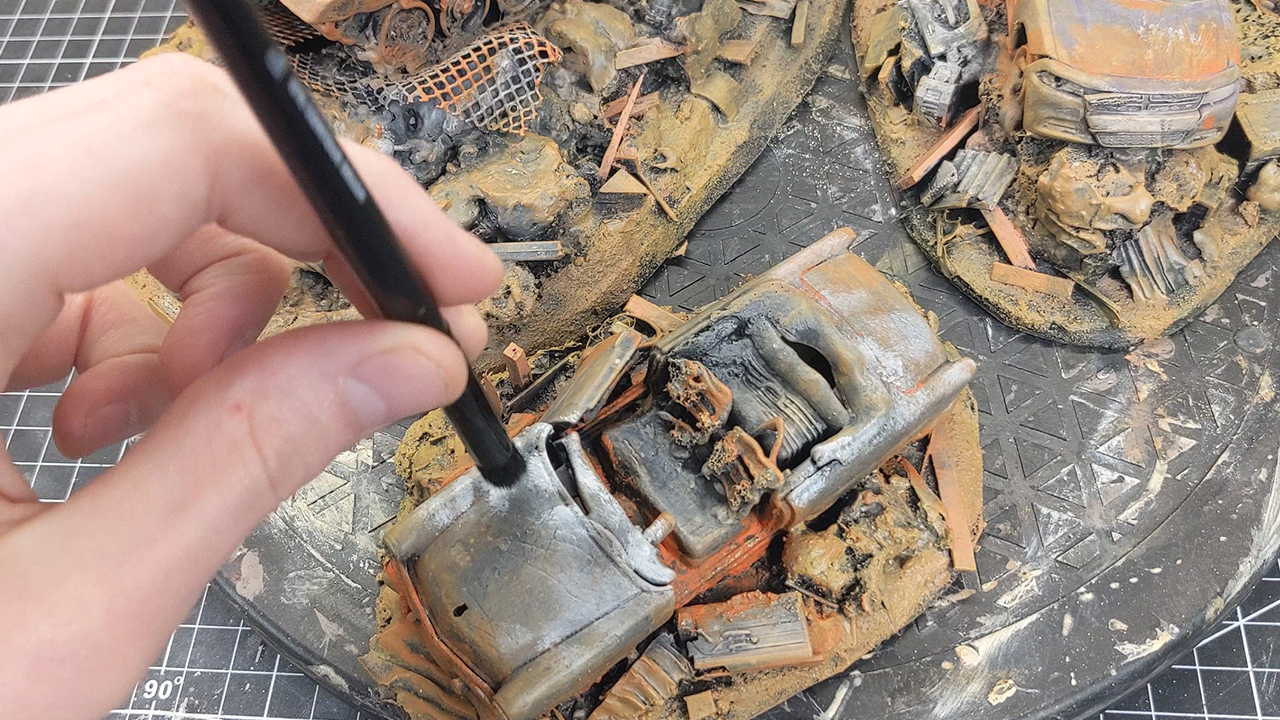
I dry-brushed Desert Yellow around the edges of the bases. This was my “unifying” color. It tied everything together.
To add some ash effects to the convertible and tank, I dry-brushed some Ash Grey paint and hi-lighted that with Mummy Robes.
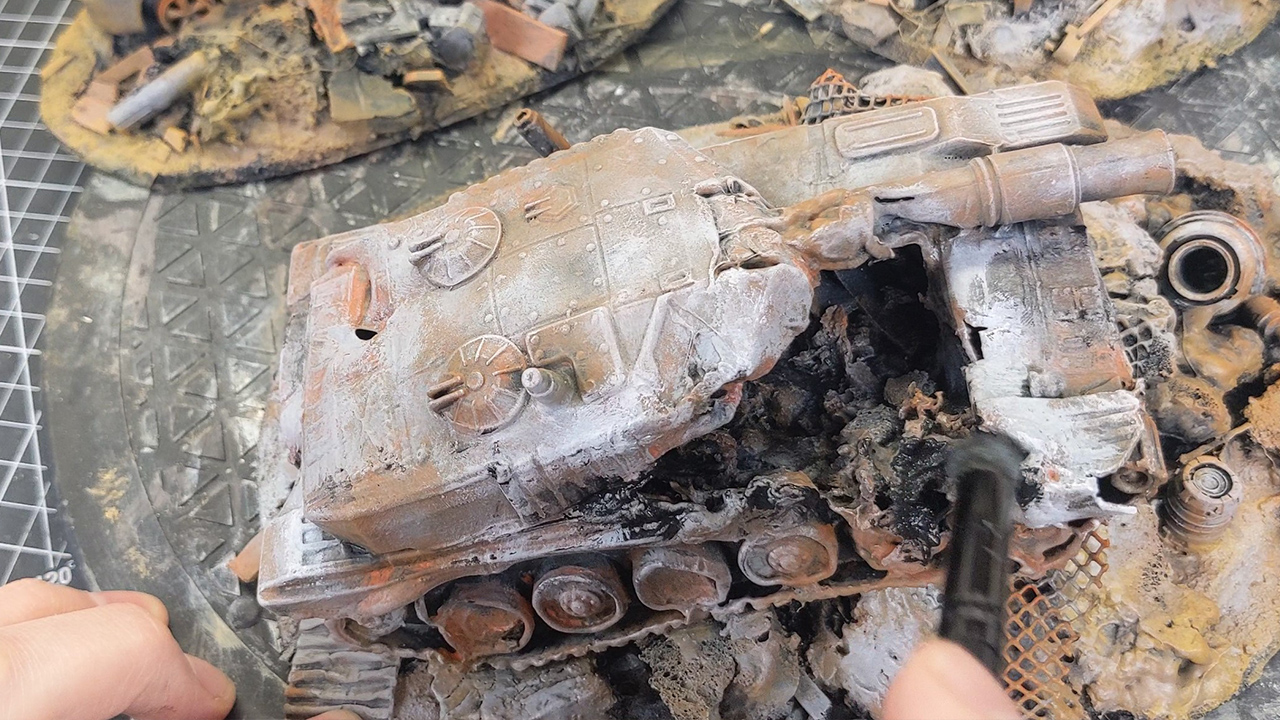
Finally I went back in with some Matte Black to make some spots look more charred.
My First Oil Wash
Having never done an oil wash before, this project seemed like a great low-risk one to try it out on. I mixed a bit of Vandyke Brown oil paint with Gamsol and covered each terrain node. While that was wet I added a black oil wash mixture, darkening some of the more recessed areas.
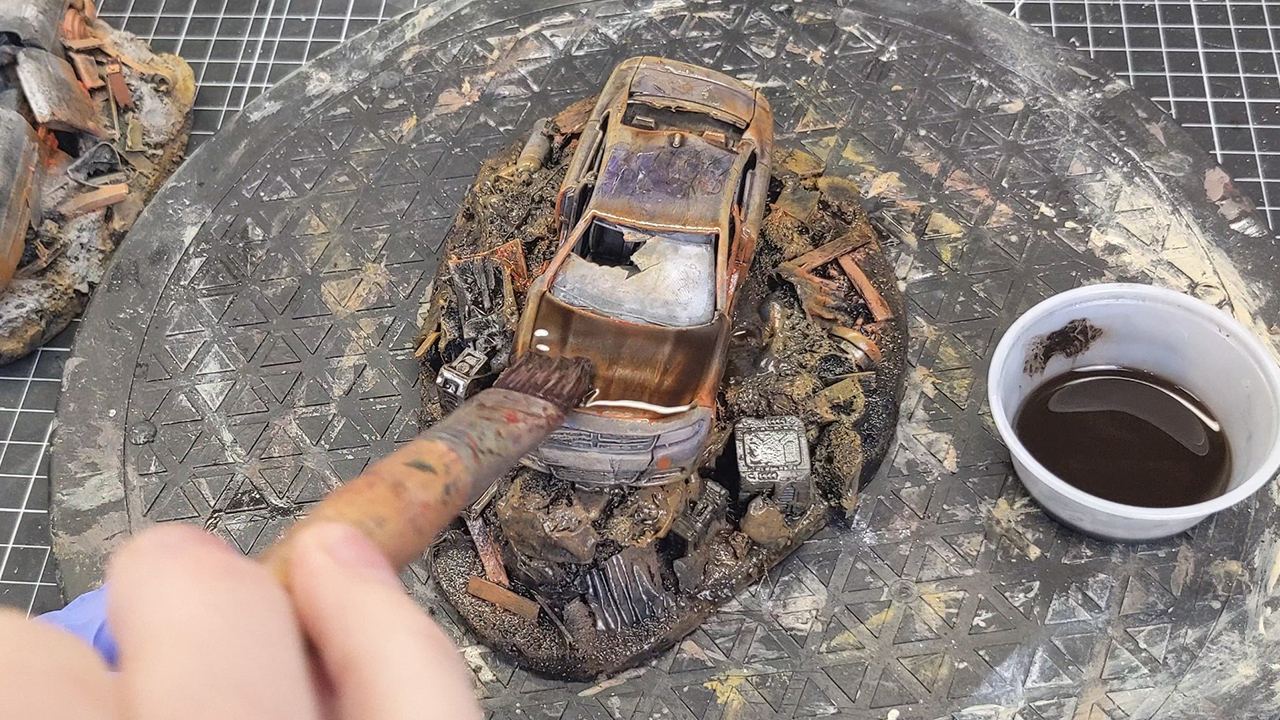
After giving that a day to dry, I dry-brushed some Desert Yellow around the edges of each node to match my Trash Piles Terrain color scheme.
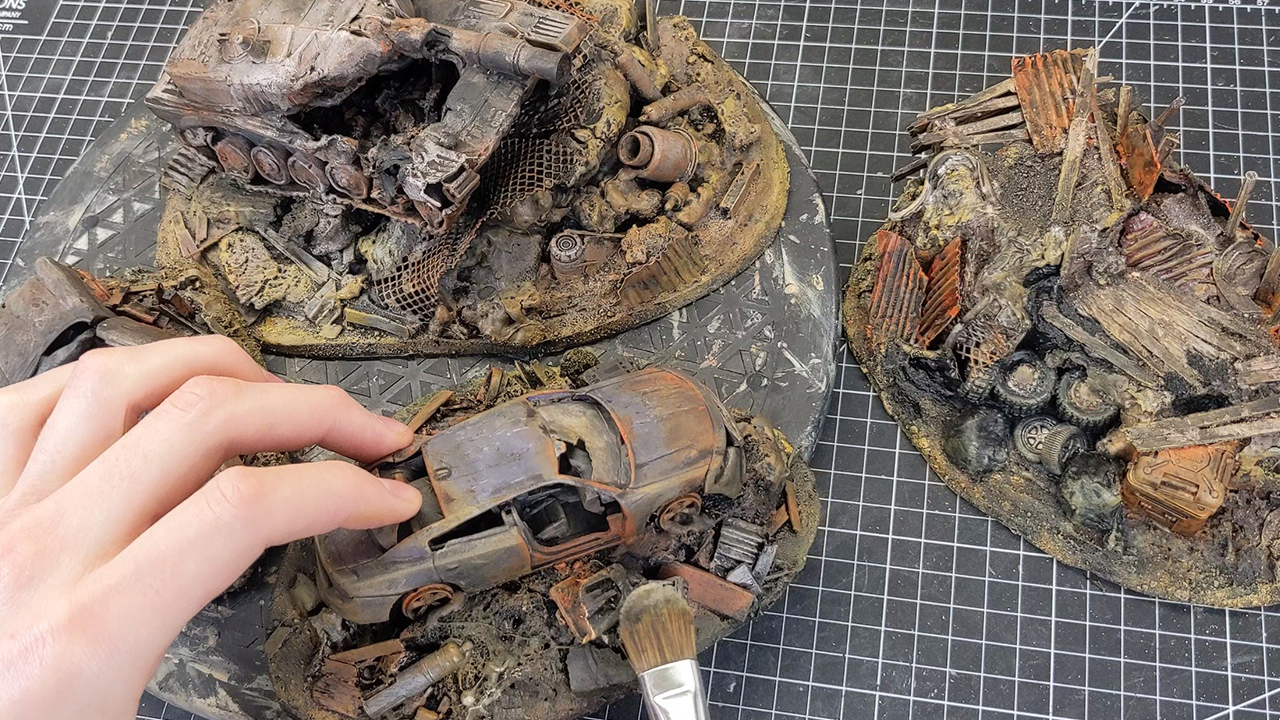
They're ready for the wasteland
And after another coat of matte varnish I was ready to call these Wasteland Vehicles Finished!
Here are some pictures of the final product!
I hope you enjoyed my tutorial and found it helpful!
FOR MORE IN DEPTH TUTORIALS & PROJECT UPDATES CHECK OUT
SUBSCRIBE to the Haunts’ Wargaming YouTube Channel
I’m also on Instagram and Pinterest if you want to follow me there!
